Thursday, October 18, 2012

black & white

Holy time gone by BAT MAN...wow this blogging thing sure is taking the back burner.
I have been so busy getting ready for my next show which is the 27th of October
so I am cramming....anyway enough with the excuses...
I have lots to share but today I have a couple of cards that I made
and I used 1 color on a white surface...makes for a screen print feel
I like it and it's totally out of my norm...
what do you think?


cool right?

I think it says Halloween - I like the contrast between the black on white.
not sure if you can see it but I added some bling on the large chandelier
and some glitter glue to the dots up in the right corner. Had to have a little something to bring the card to life.

 I am linking this up to the following challenges:
paper pretties - sentiment as a focal
creative card crew - birds (crow)
paper crafting journey - add some bling
aud sentiments - Halloween

here's hoping you are having more free time then I am over on your end.

Happy Friday!
xo

Friday, October 12, 2012

Scrappy love

Oh my sweet scrapbooks have so been ignored as of late...well I was finally able to get a layout done & I am glad I did.

I scrapped a LO of photos of my hubbs & I - reflecting on our past 13 years together...I am super happy with the way it came out!!!!

Hope to get more layouts done soon -especially my project life album!!

Have a great weekend! XO 😘

Wednesday, October 10, 2012

EYE see you

Boy - its wednesday already...geesh...life is just speeding by.
 
I wanted to share some of the things I have been making around these here parts....I saw this in a magazine or online magazine and for the life of me I couldn't find the original source so I can link up - I thought maybe Martha Stewart or Better Homes & gardens but no such luck in the search mode on with site....
 
Anyway, here she is - yes my daughter but also the super cool magnified EYE glass....
 
 
First of all, these magnifying glasses are at the dollar store (yeah coolness)
so I bought one cleaned up the glass

 
Looked on google images for some cool eye photos and printed them out
the larger the better so they fit nicely into the center of the glass

 
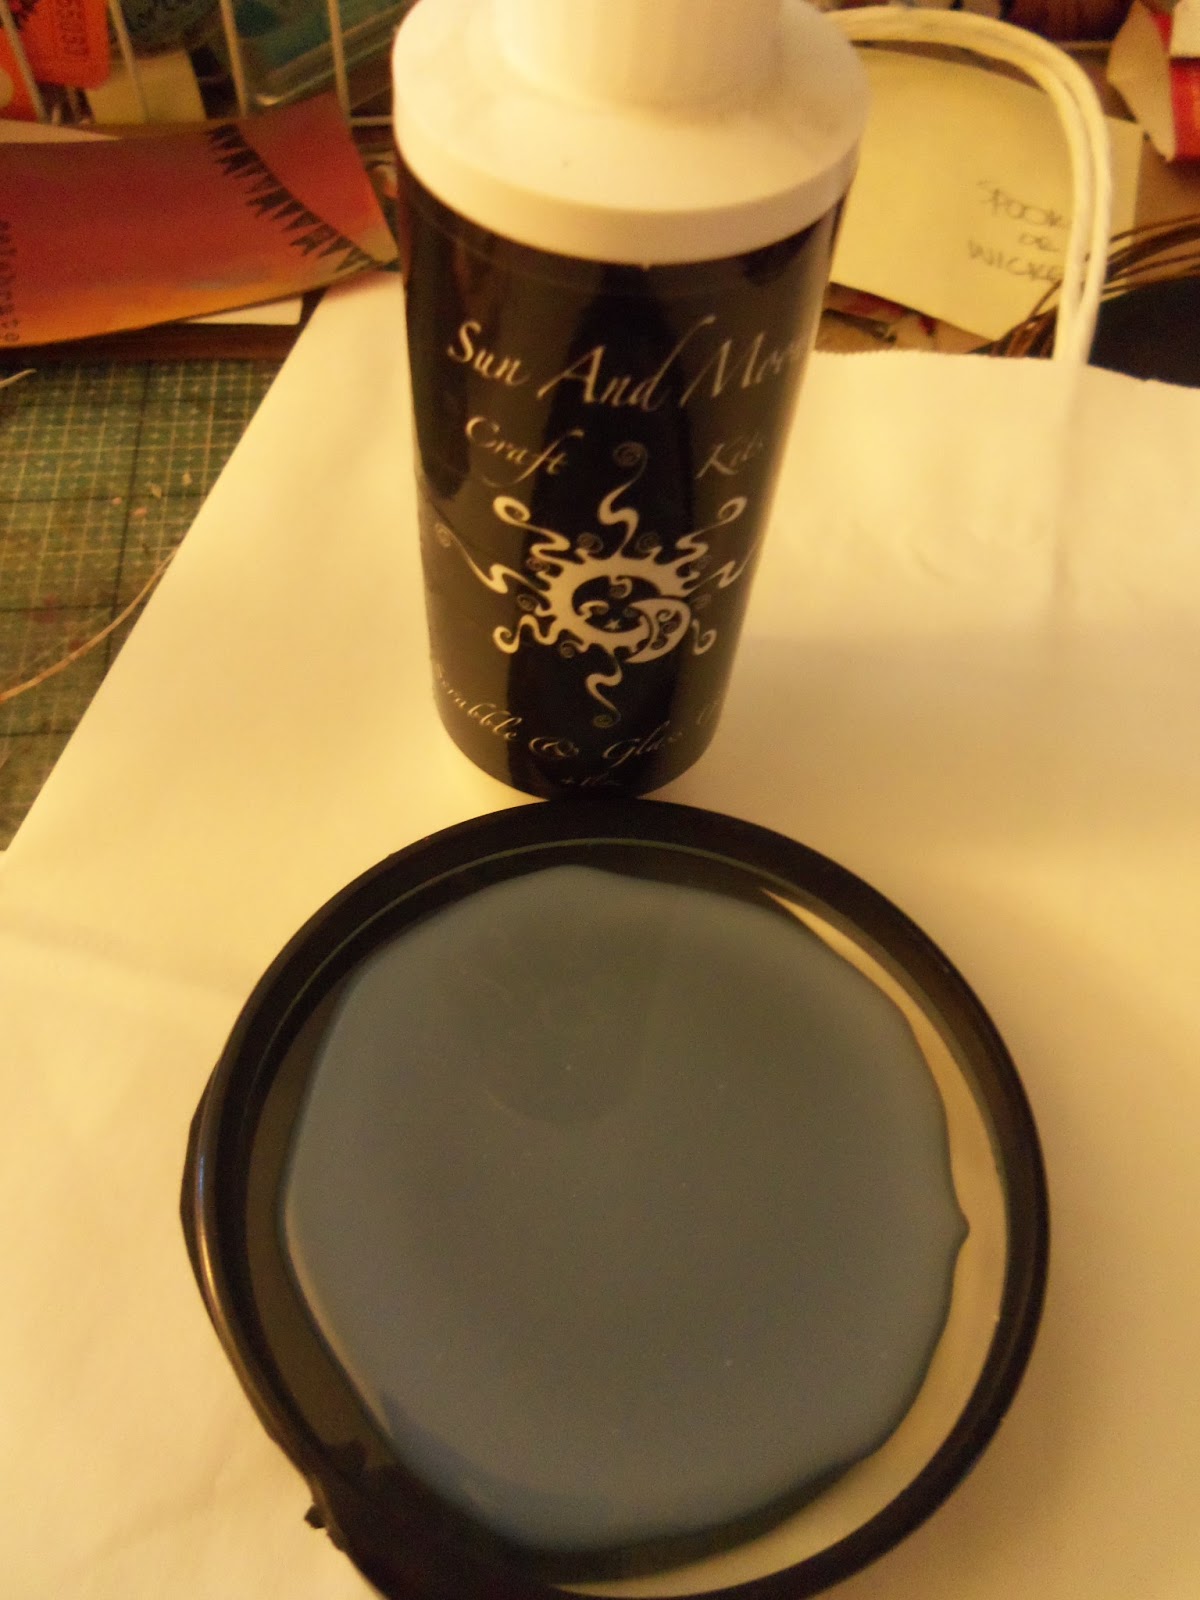
I used this amazing glue (super stain-y, and sticky on the fingers)
but dries super clear and tacks down most anything...
I added a big glump of glue to the center of the glass
(FYI - after trying it this way I would definitely add less in the center because I had a ton of glue oozing out the edges of the images and because of that I may or may not have used my pants to wipe away the excess - not a good idea)

 
then I added my cut out eye image and smooshed it in the glass and squeezed out the air bubbles. (FYI - make sure your eye placement is straight and not off center) but once you are done...you have this really cool
creepy Halloween gag piece to lay around  - why not leave it in the bathroom by the toilet :)

 
moral of this post is: do as I say NOT as I do!!!
 
and have fun with this...
hope your week is productive and filled with crafty fun.
 
I am linking this up to the following parties this week:
 
what I whipped up wednesdays
overflowing with creativity
the creative spark
we did it wednesdays
whatever goes wednesday
xo

Saturday, October 6, 2012

Burlap Pumpkin

I rate this *****easy peasy****
 
Following along my last post of burlap LOVE-I had some scraps left over from making my last pillows so I decided to make one of these cute little pumpkins. I saw this on pinterest and thought - hey cute & easy.
Now I must say my hubby saw it and said - why? why would you need that?
Oh ye of little faith!
 
so here is what you need to get started...
burlap pins & 1 Styrofoam ball-
cut out circles all the same shape or different sizes
cut the bottom corner off - so you are giving yourself a flat base
 
 
fold the circles in half, then in half again and grab the
corner and put the pin in through there

 
keep adding circles and try to follow the same direction


here is the bottom of the ball that was pre-cut (just with a serrated knife)
I added a small lily pad shaped piece of burlap in brown to the bottom just
so it is finished off.

 
and there you go a cute burlap pumpkin to add to your Autumn & fall decor.
sweet and if you have time you could use a larger sized Styrofoam ball and make an even bigger pumpkin...

 
Hope you like it.
 
I am linking this up to the following weekend parties:
 
xo
happy crafting ---Tina


Tuesday, October 2, 2012

Burlap LOVE

I know I am not the only one with BURLAP love - something rustic about it
yet it can be easily kicked up to shabby or Parisian or holiday-ish.
{Did you know that Burlap came in a bunch of great colors???}
I want to share with you some fun pillows I made using this awesome fabric.


I cut out rectangle shapes of the burlap, sewed up the four sides leaving
an opening to stuff later. Then I got some fun FOAM letter stamps and I used
speed ball ink - but you could use acrylic paint as well.
Then I just went to town. I thought up some fun sayings and just stamped them
out and used some making memories Halloween stamps (images)
I made some larger pillows too and am just finishing them and will
share them later this week.


These are fun to add to your Halloween decorating. They would be great on your
outdoor patio - because they are burlap they can handle the elements.

Just so it's clear. These aren't to be washed unless you make a pillow case for the stuffing.
Because burlap is so cheap - I don't worry much about them getting dirty or
torn. They are cheap enough to toss away.

I will be sharing more fun Halloween projects that you can make and decorate with
between now and October 23...

Happy crafting....
I will be linking this up to the following parties:


*Tina