Showing posts with label Christmas decoration. Show all posts

Tuesday, December 2, 2014

Oh deer!

So ever have a project you put together and then looked at it once done and said "what was I thinking". Well this is one of those projects. Initially I thought how cool would a shadow box (of sorts) be filled with old school - kitschy old holiday decorations? What do you think?


I think my first mistake was using such an odd shaped box...


But really aren't the pieces inside completely over the moon cute? 

Anyway I have been trying to sell it for a year now and nothing. I am listing it now in my etsy shop
Onecraftymess shop for a really great price. 


And if still doesn't find a good home I will take the piece apart and use them for something else. 

Man what a fail.

There's always tomorrow.
Xo


Friday, December 7, 2012

Shabby Tree Skirt

I gotta tell you that this is not MY original idea. I have been seeing these NO SEW
tree skirts all over the blog-o-sphere. I am sharing the way I made my skirt through
my own tutorial. I gotta tell you that this is most definitely PERFECTLY IMPERFECT!
 
The basic premise is to use some inexpensive fabric something lightweight - I used some MUSLIN - mine was 2.99 a yard plus 40% of course. Now the idea is to cut a circle out of the muslin. I tried folding the 3 yards into a square and attempted to cut out a circle
and this is what I came out with...PERFECTLY IMPERFECT!
 
Then I cut out LOTS - like 3 yards worth of strips around 3-4 inches wide - just snip the fabric then tear...they will come out more even then if you cut down the strips with scissors.

 
Then just start to glue down and try to gather as you glue. I laid the glue down then took the fabric in my fingers and crinkled it and laid it on the glue - be careful not to BURN yourself!
This is a long process especially since I made the funky shape and it was way bigger then I expected it to be.
 
I love the way MY skirt looks - it even kept its original cut shape - weird how that happened.

 
I wanted to share an up close shot - see you don't have to be PERFECT because it all overlaps so you can cover your mistakes. Remember I told you it took a long time and lots of strips - just be patient. I did it over 2 nights while watching t.v.


The end result is STUNNING. My kids LOVEd it. My husband just asked WHY? Boy, guys are just so dense sometimes - he did add later as it lay under the tree...
"Hey that looks pretty good."
nice save HONEY!

 
Nice right?


I like that it looks so substantial. and definitely handmade!


Anyway, I say give it a shot and when you are done you will have a lovely YEARLY holiday decoration, perhaps an HEIRLOOM, someday! Common ground blog - is hosting a VINTAGE INSPIRATION holiday decorating ideas party---you should play along.
 
Wishing you a wonderfully fun holiday decorating season. 
 
 
I am linking this up to the following parties:


Monday, December 3, 2012

sweet Snowman

Here is another sweet Holiday D-I-Y couch buddy or gift.
I made these at my last show and they sold like crazy and really quite simple to make.
I thought I would share with you how to put one or bunches of these together.
its the smaller one
 
 
Here are the supplies you will need not forgetting the glue gun and the sewing machine
You'll need to some white chenille or any other white thick fabric, a little bit of orange felt, lots of black felt  and some vintage trim for the hat.


I sewed an orange triangle together  on the machine and sewed an oblong circle out of the vintage chenille and left an opening for the stuffing
 
 
I used black circles cut from the black felt for the eyes and the mouth.
I made a hat using the black felt too and just cut out a square  wide enough to cover the top of the snowman's head and a rectangle to act as part of the hat...and just glued it in place


the finishing touch is the vintage holly & berrys that I added to the hat to give it that vintage feel.


What do you think? Cute right and super simple....
 
I am linking this up to the following weekly parties:
 
 
Here's wishing you a wonderfully crafty week
 
xo


Friday, November 16, 2012

Bottle BRUSH bleaching

ok are you feeling the Tim Holtz rage yet? I know you must think I am a serious stalker or wanna be. But I just think he is such the genius...anyway I found this cool photo by
Tim Holtz
I know GASP} right? totally - the colors look so magical and dreamy...
anyway I wanted to make something similar and knew that you needed bleach and "HIS" inks & stains of which I had very few. Here is my short but sweet tutorial...
 
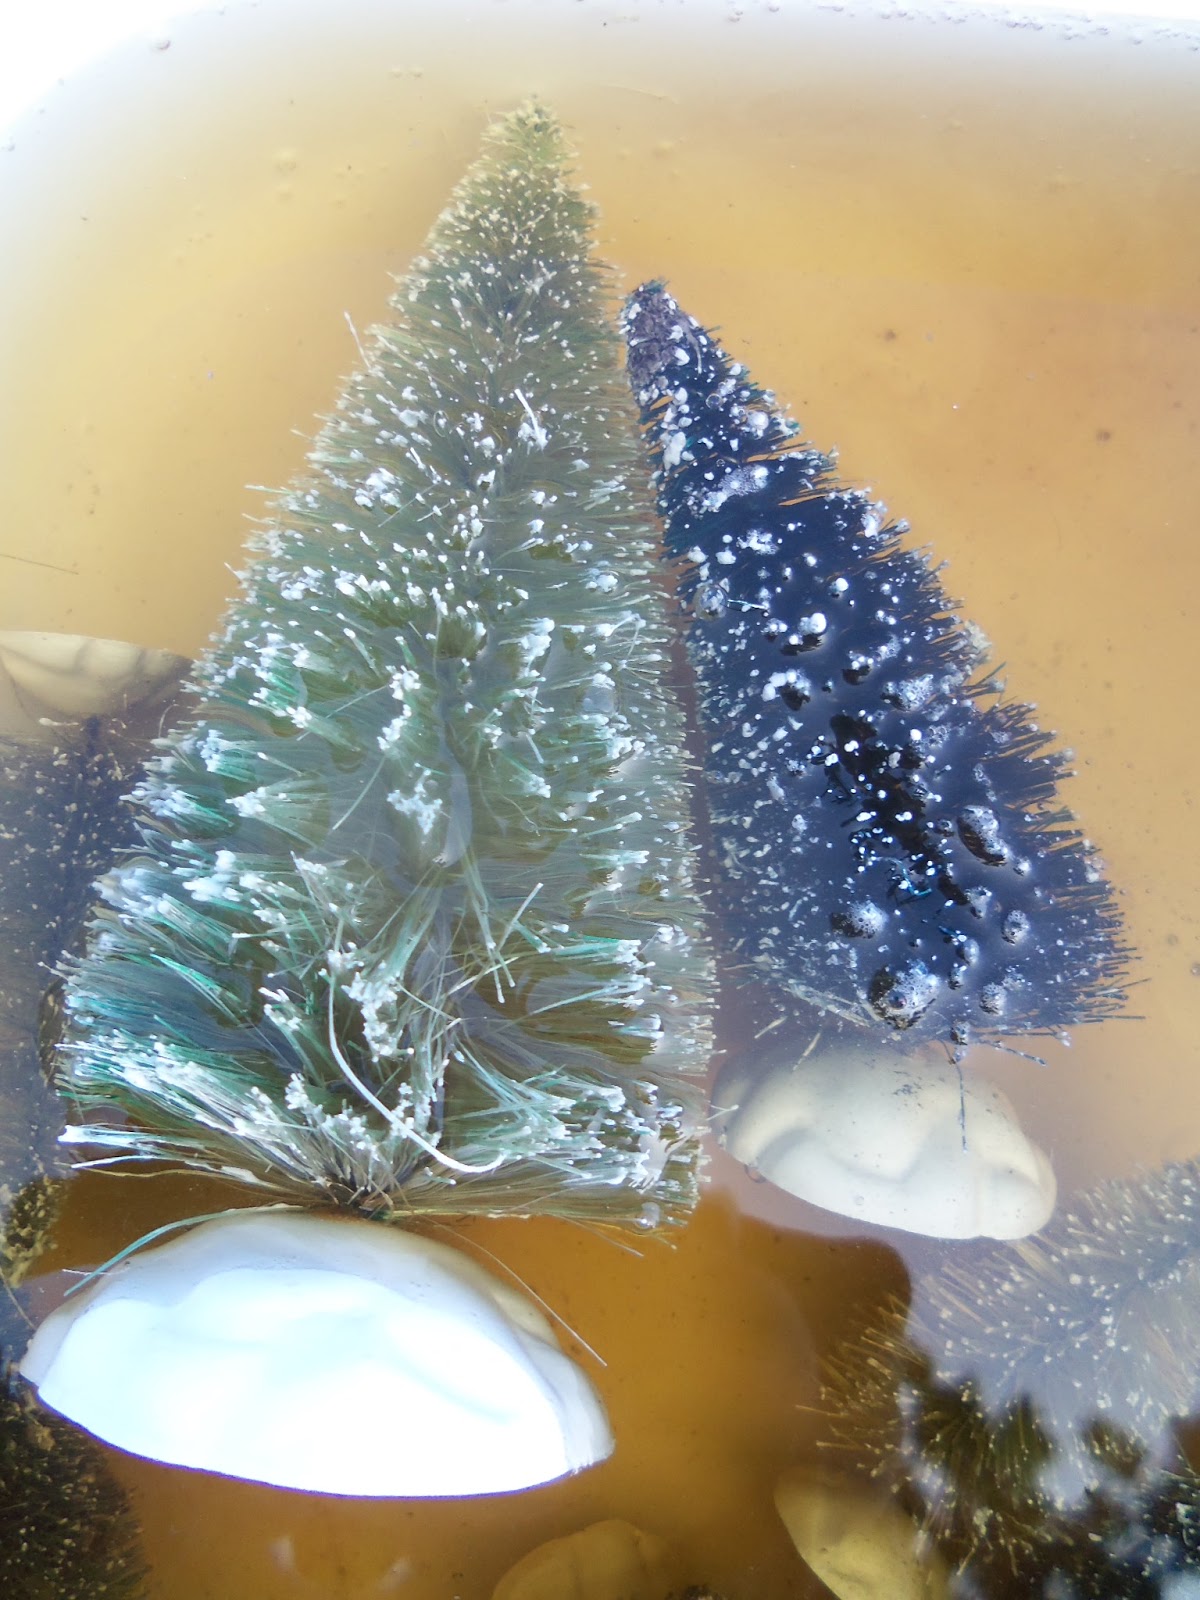
grab a bucket - some bleach - some trees and some spray inks (like tattered angels or studio calico spray inks)


Dip trees intl the bleach and let them soak for a little bit. Keep turning them  every once in awhile.


soak the trees for about 20-30 minutes. just keep checking on them and turning them.
- they begin to look dingy beige... the water looks really dirty when you are done. Try using some
gloves because I found out the  bleach burns a bit on the skin

 
once out - let them dry - aren't they lovely as WHITE TREES?
 
then grab a shoe box and your sprays and put the trees into the box one at a time and spray till you get the color of tree you desire. Then just group them up and sit back and admire them aren't they gorgeous??? I am itching to make a ton more!!!
 
 
purple-icious

 
robins egg blue

 
pretty in pink

 
ornery orange
 
and then the rainbow of loveliness....
 
 
Hope you try your hand at this...
 
Here's wishing you a wonderful weekend...
 
linking this up to the following parties:


& more
 
xo