Showing posts with label handmade. Show all posts

Friday, November 2, 2018

Halloween fun

Hey ya’ll hope your Halloween was fun 

I wanted to share photos of my kids using their treat bags we made the day before our trip to Disney 


You can’t tell but the girls have theirs on their shoulder. They all used them this night and again on Halloween night they - came in very useful and now we’ll have them forever. 

Sometimes it’s more personal and cheaper to take something simple and ordinary and make it your own with a little paint and elbow grease. 

Have a great weekend friends 

Tuesday, October 23, 2018

Halloween Trick or Treat bags

Hey ya’ll wanted to share a fun craft you can do with your kids for Halloween. 

My kids are 18, 16, and 11 so we have gone through plenty of Halloween trick or treat bags - we started with the typical orange plastic pumpkin - the one that cuts into your hand when it’s full of candy. 

We tried the pillow case - which leaves kids disappointed when they don’t get the whole case filled because really that could weigh 50 pounds if filled 

We also had grandma make some which were cute but small...so now, today for this Halloween, I made some more practical customized treat bags 


I started off with these blank canvas bags which could work to throw over your shoulder if the bag gets to heavy and for bigger kids they can hold it from the handle without it dragging on the floor 😁


I asked the kids what they wanted and I just drew the image on the front and had them paint them
(truthfully I did 2 because my kids are at school today but my daughter did paint hers) 


Choose your colors and paint brushes - these bags are nice and unwashed which helps with the paint going on and is forgiving - note: if you use a pencil like I did some of the colors of paint do not cover up the lines so definitely don’t use a sharpie unless it’s part of your design. 

Also, if you are using acrylic paint it will seep through the bag so be sure to add something inside the bag before starting to paint, such as a piece of card board. 

Once it’s done be sure to cover with an old towel or cloth and iron just to secure the paint if you want. You shouldn’t  have to wash these bags since the candy is mostly sealed - 
So you could just hang up for next year.!


Cute right? My old east painted in my penciled drawing 


And customizable to each child or friend. 


I’ll have more to share tomorrow after our fun filled evening we have planned - stay tuned. 

Happy Crafting friends

Tina

Friday, October 12, 2018

New Halloween to share

Hey ya’ll just wanted to pop In and share these super fun Halloween goodies I’ll be taking to my show in 2 weeks 


Can you handle it? The best part is they easily make a cute vignette for any room in your house 🎃


Stay tuned for more previews 

xo 

Wednesday, May 30, 2018

Graduation Gift Idea

Today is a big day for us here - my daughter graduates from high school and we are in full party prep mode but I wanted to share a cute gift idea with you.


This idea is a unique way to give money to a graduate. 


Cute right? 


Let’s get started 

Here are the supplies you’ll need to make this 


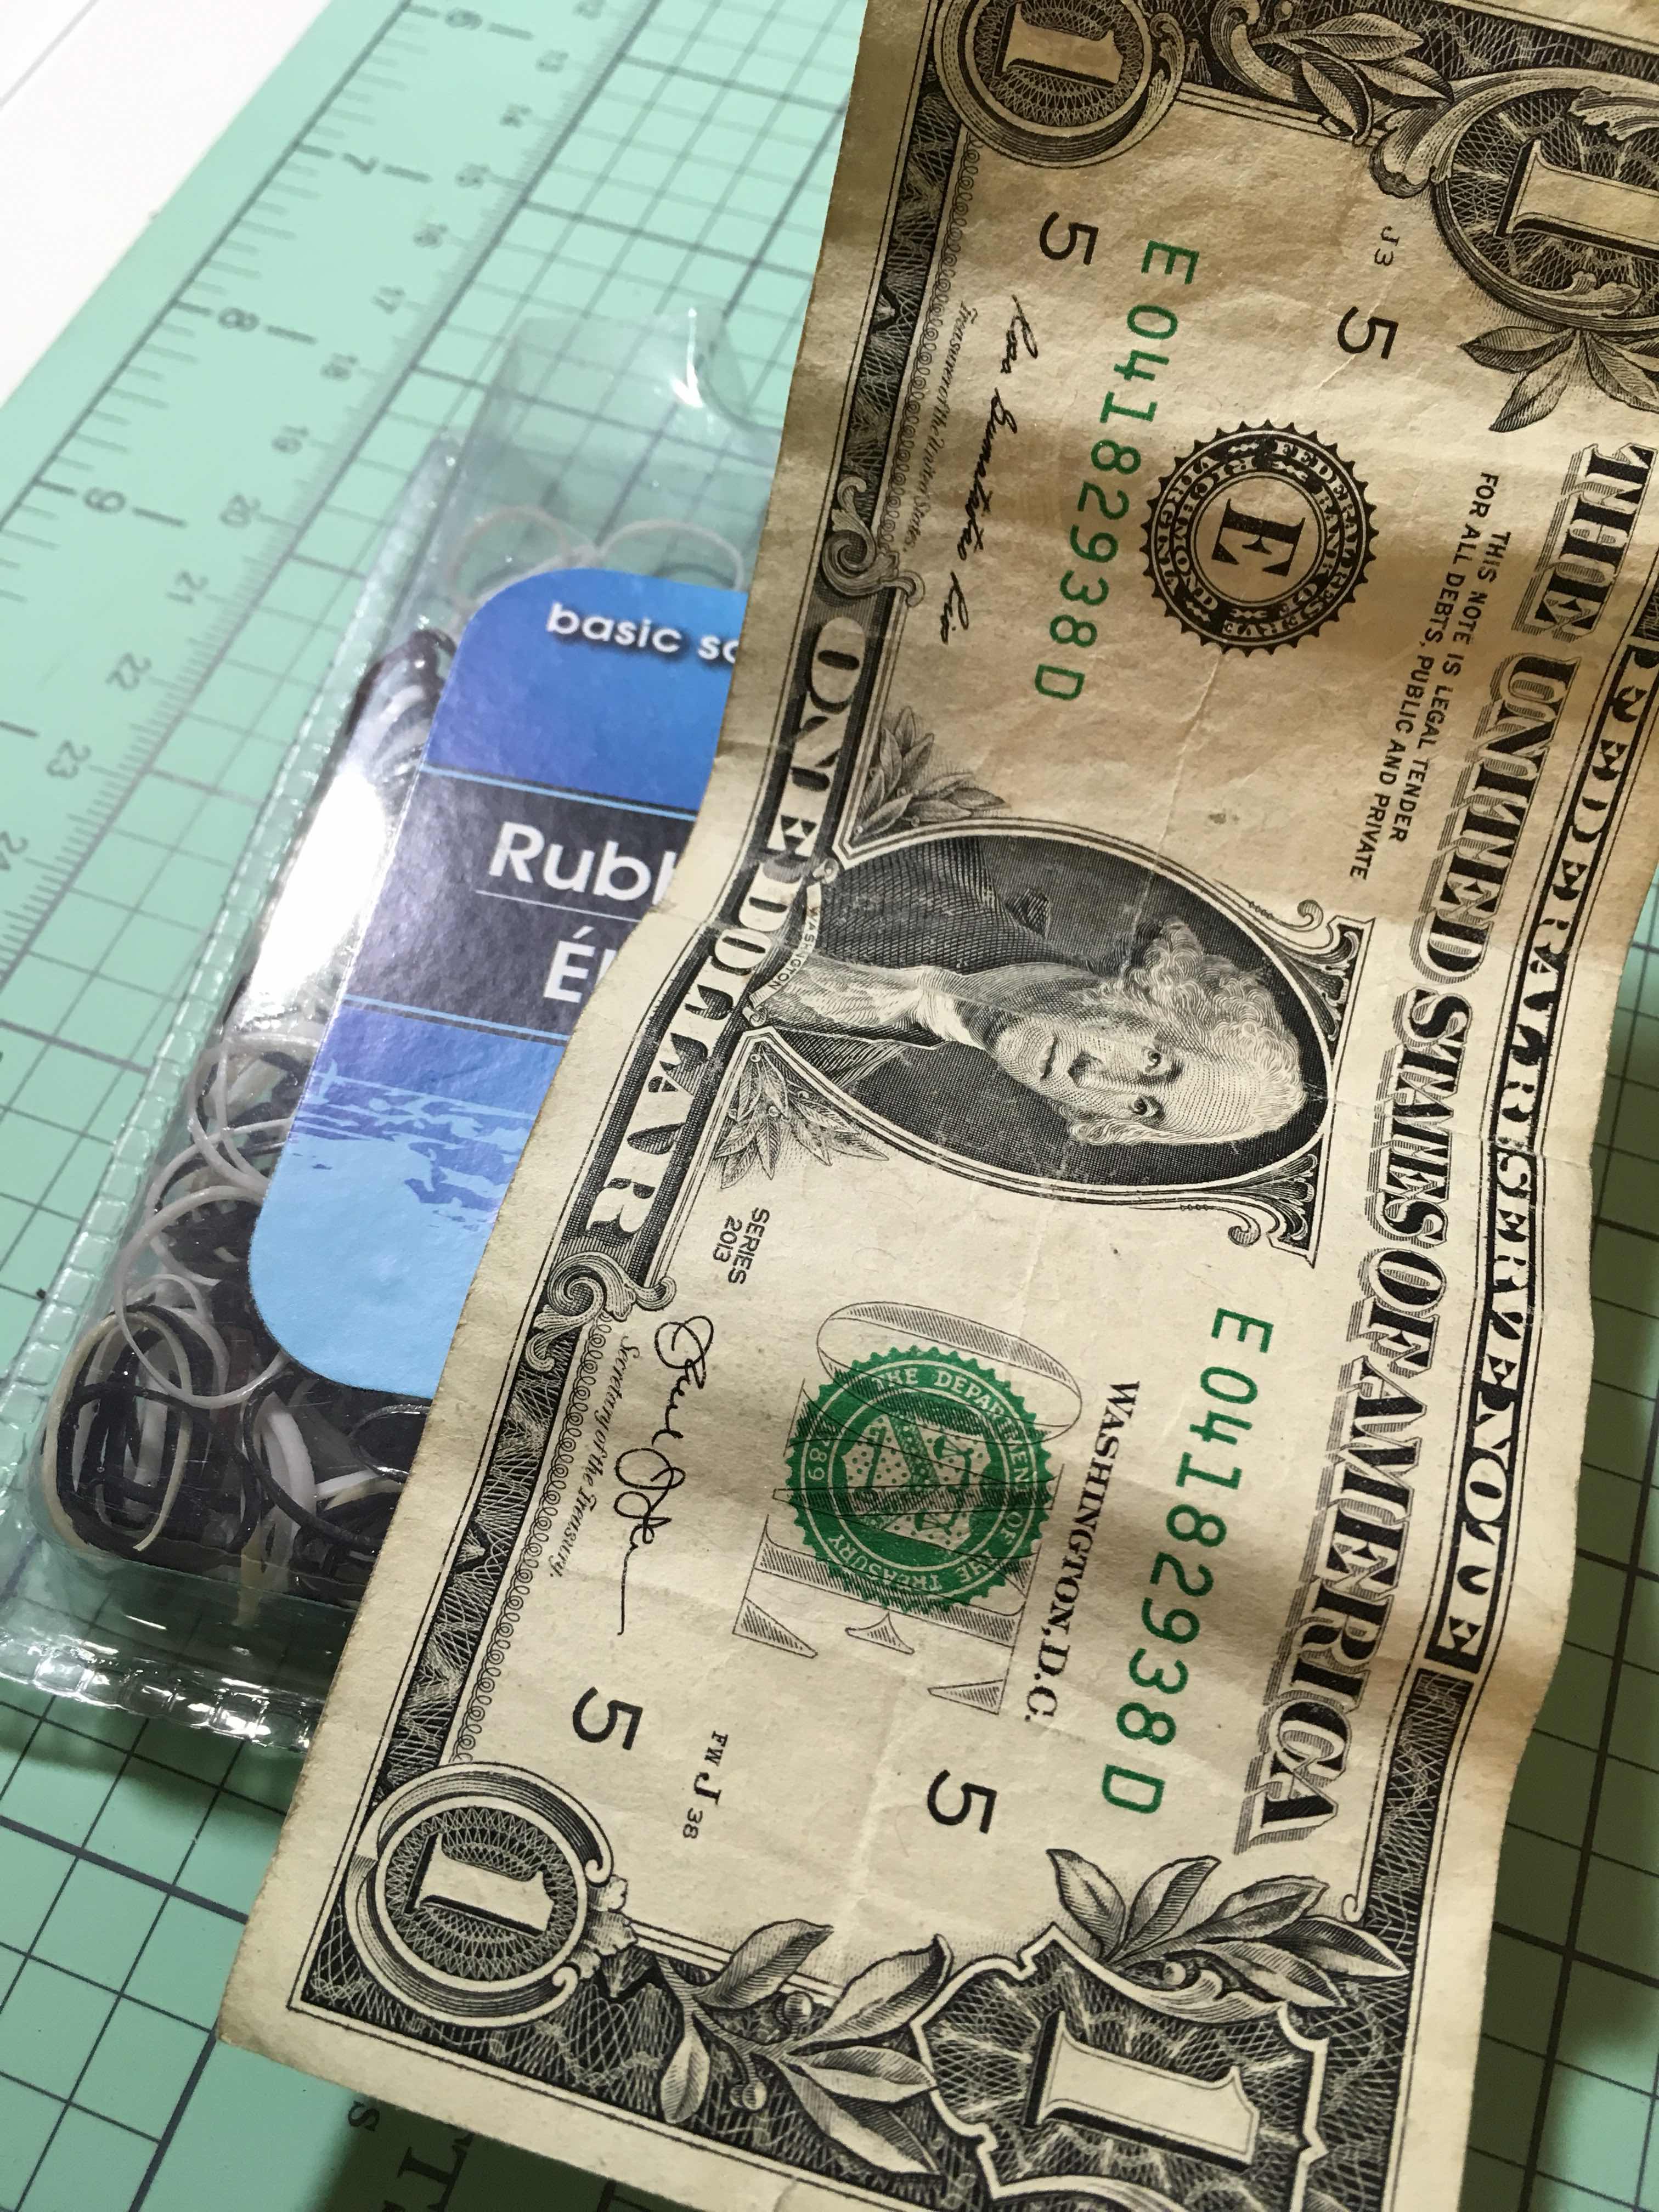
First would be picking your jar. This is for my daughter, so I am packaging 100.00 - mostly ones, some 5.00s, a couple of 10.00s and 1 twenty... I used the jar on the left with the white cap. I had it  already but I know bought it at the dollar store.

See that there mason jar?

Pretty sure it can hold 250.00 to 300.00 - I bought that one originally but my 100 bucks only filled 1/4 of the jar - doh! 


Use those small rubber bands (also purchased at the dollar store) and wrap the dollar bills.


Here is my jar filled up and to be honest I could probably fit in another 20 bucks inside. Shh don't tell her that.


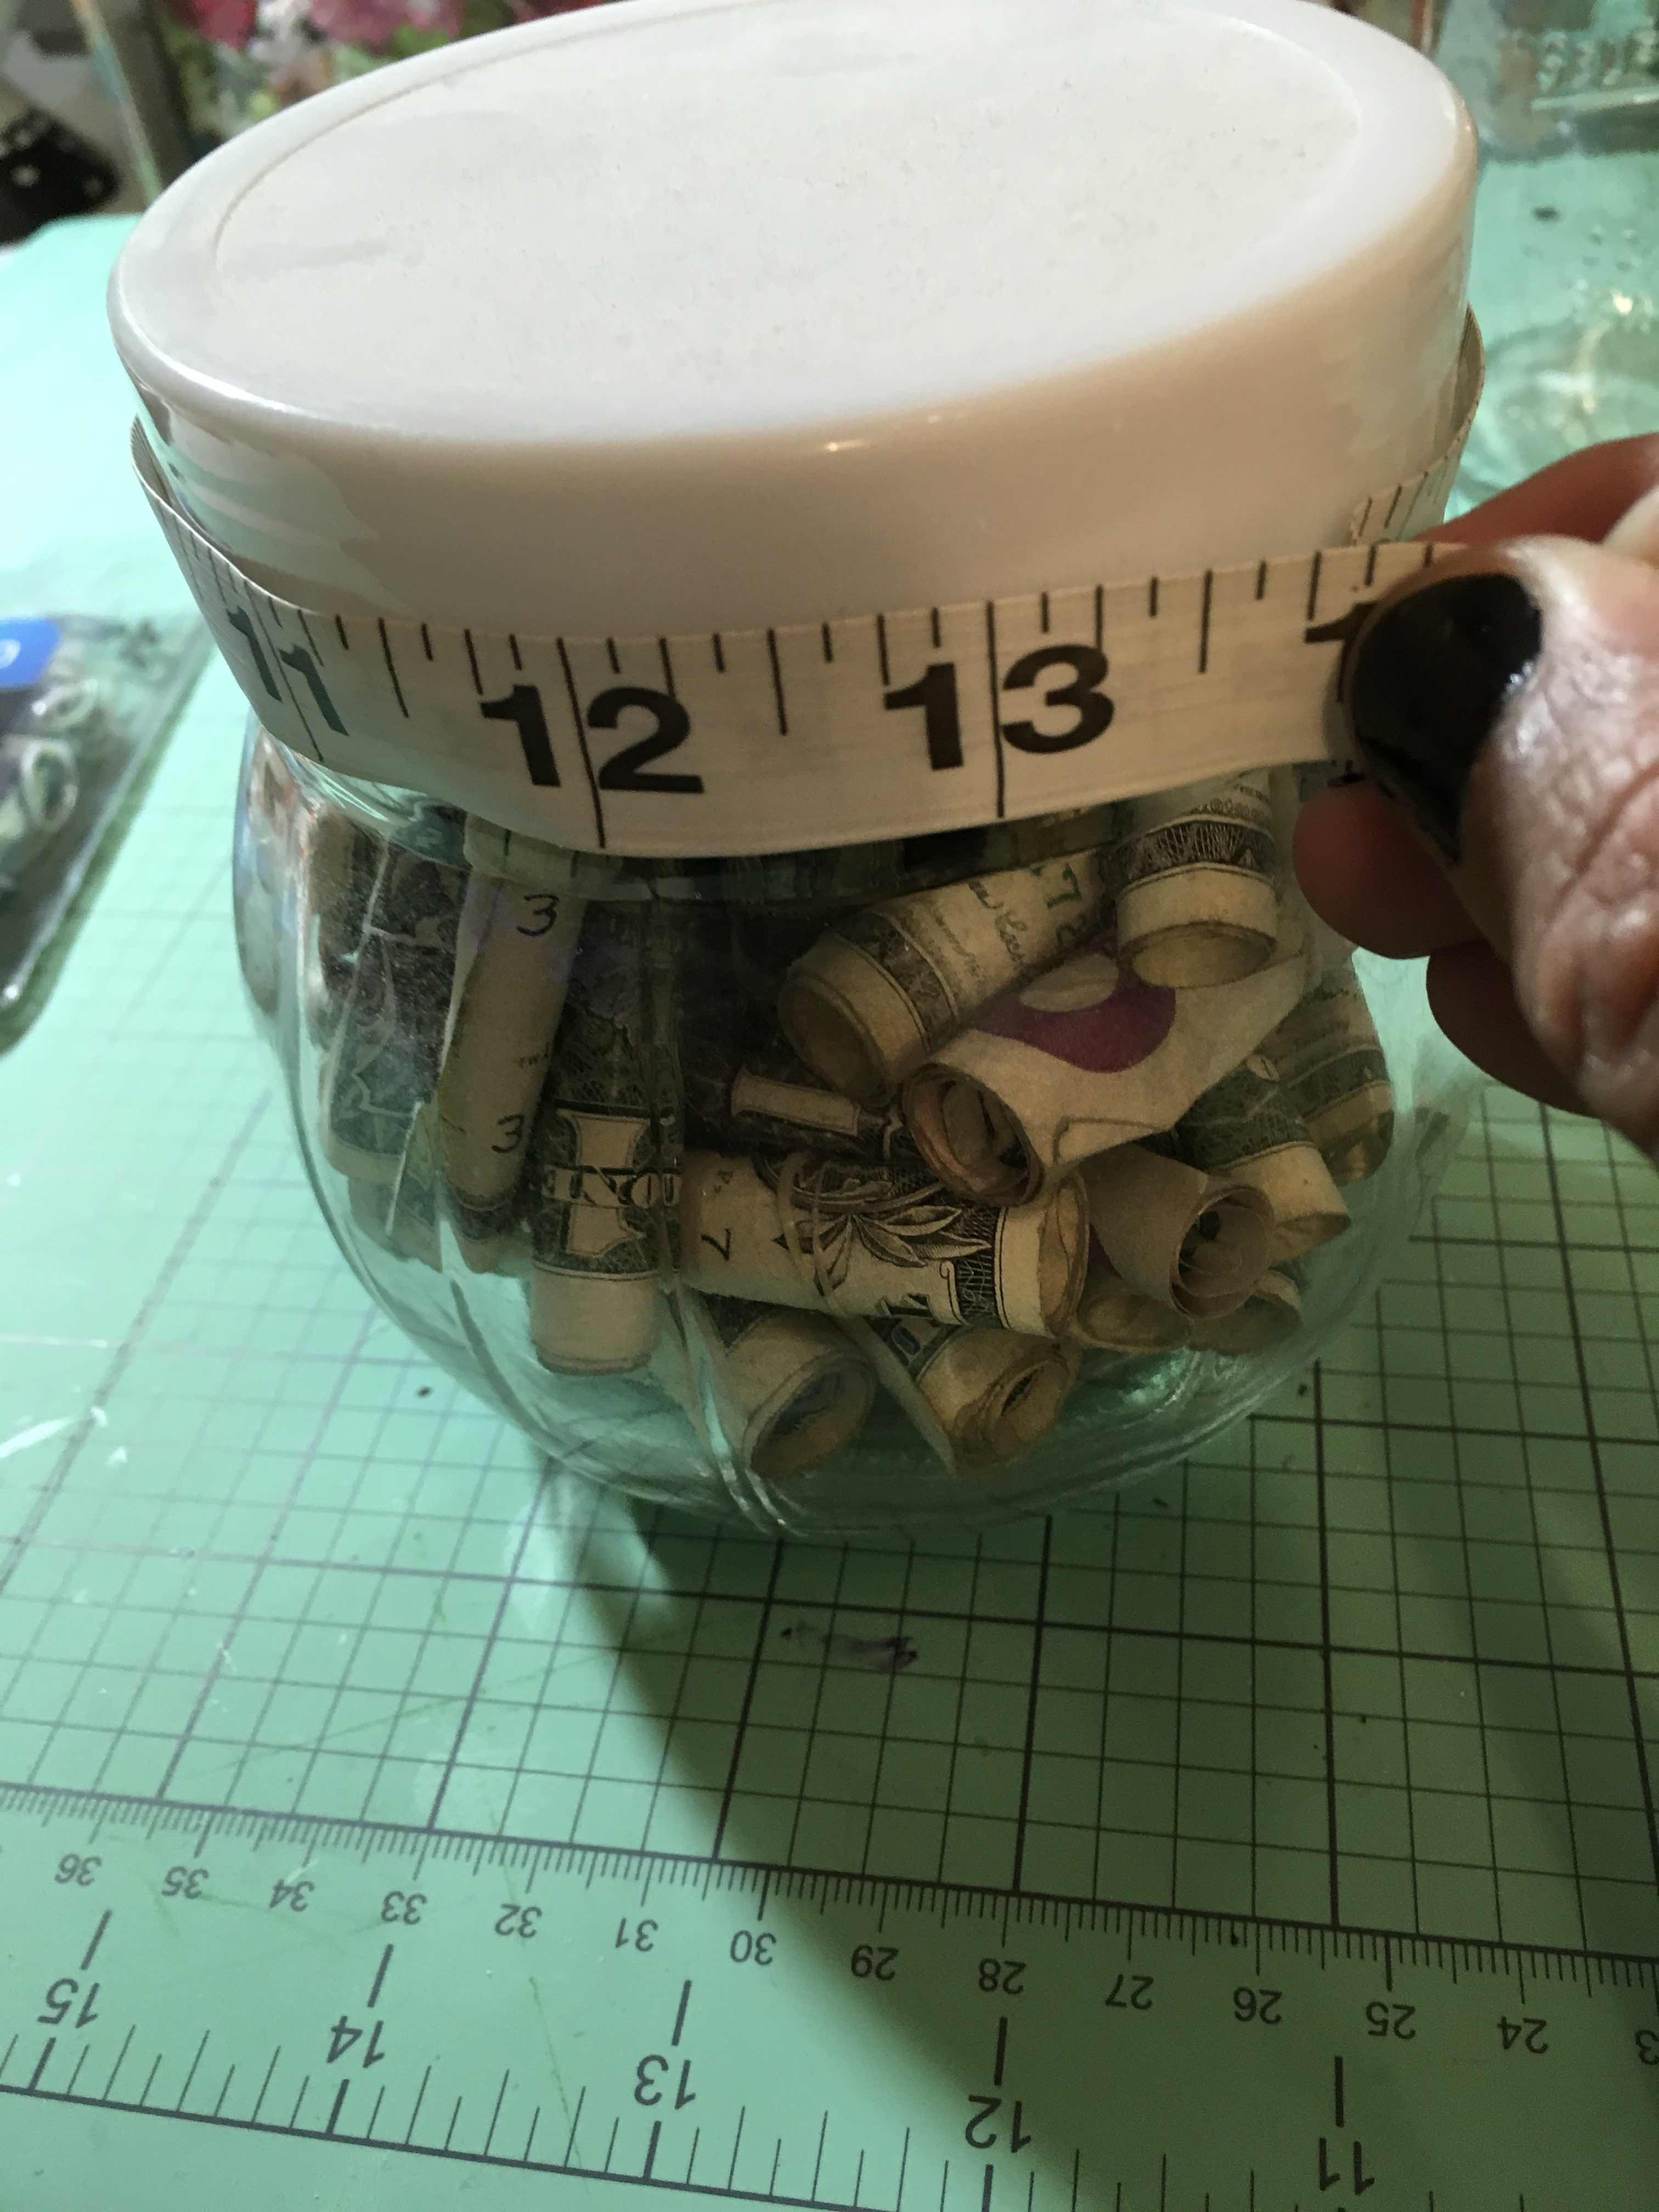
Now you’ll need to measure the circumference of the lid 


Cut a piece of black card stock and wrap it around the lid...


The circumference of my lid is 12 1/2 inches around my CS is only 12 inches - but it’s no big deal - remember the kid will probably rip this apart to get to the money so that small detail won’t even be seen.


I cut a 6 inch square for the top of my jar - (1/2 the circumference I measured)


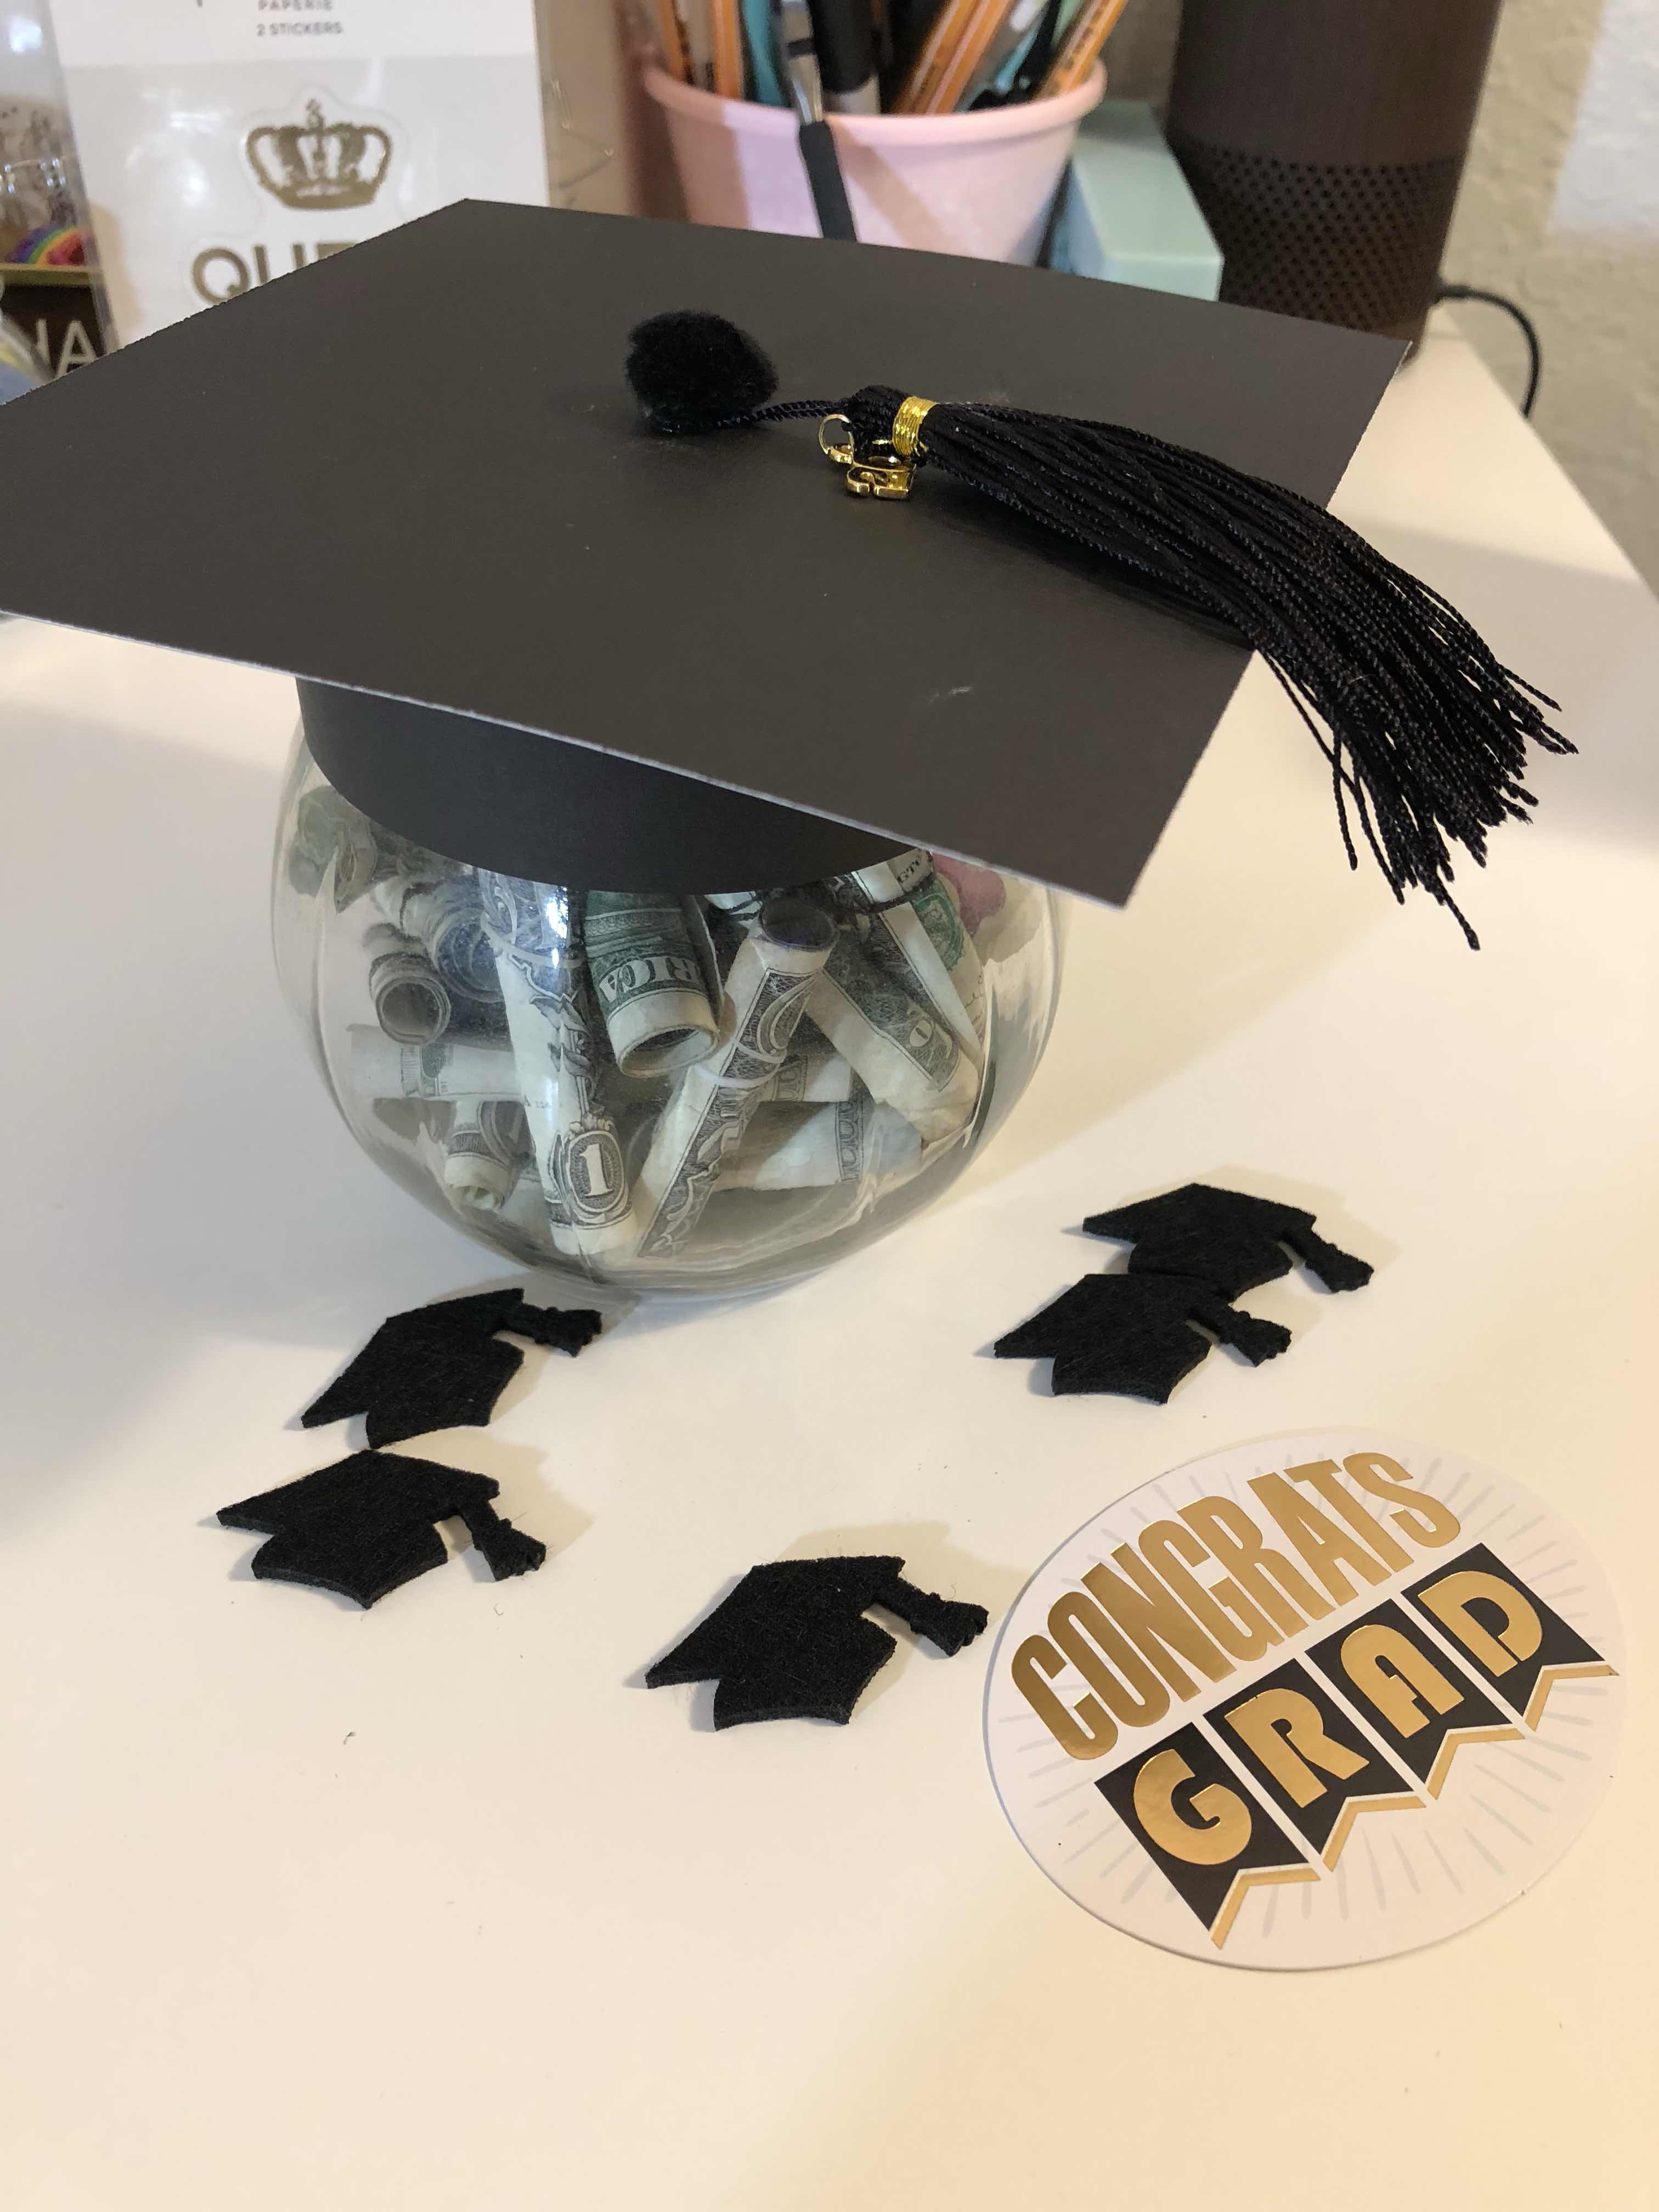
I used 3 pieces of double sided foam tape to raise the height then stuck my square on top. I bought the small tassels at Michaels for some scrapbooking projects so I used it but you could make your own instead with the school colors if you wanted to be really crafty...and attached it to the top with a sticky dot and a black Pom Pom! 


And ta-da MAGIC and an amazing treat to give your kid! 

Happy Graduation to all those kids out there and the parents who survived the journey (wink wink) 

xo 

Tuesday, January 30, 2018

Cute Valentine Gift Idea

Ok ya’ll I wanted to share a super fun crafty girl idea with you that I am making for some sweet girls who are having me over for a Valentines Day card making party.

I am using the paper collection by Doodle Bug Designs Called 
so Punny 

First of all here are the ingredients 

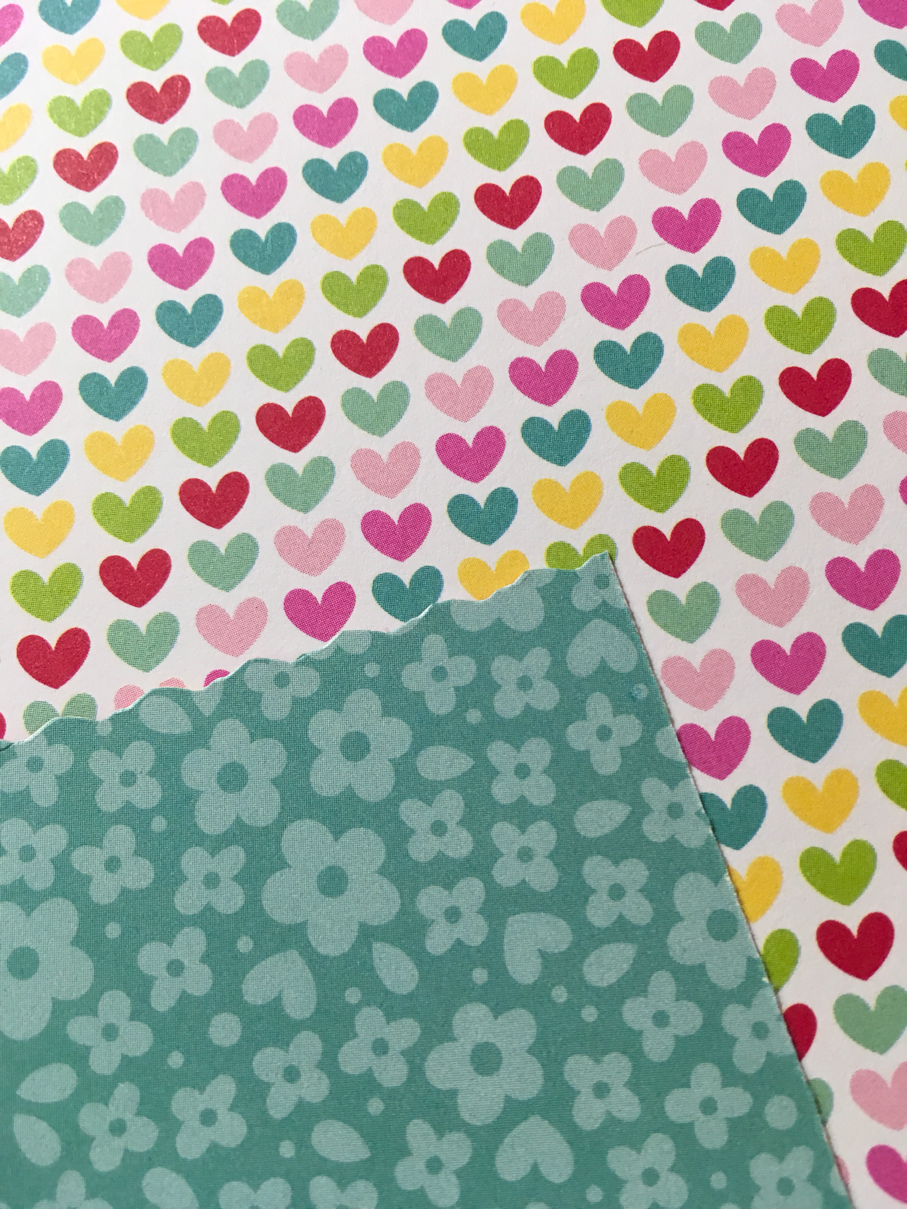
You need small notebooks - there is a plethora of choices at the dollar store, you need scrapbooking paper in your choice of colors and some stickers or in my case the punny die cuts

First thing you need to do is cut out the paper to match the size of your note book and make it a little longer just an inch or two 

After you cut the paper I inked the edges and I used scalloped scissors for one edge

Then fold over the longer side of the paper directly over the glued edge of the notebook & score it with your nail or a score tool -- that folded edge will be the part you glue to the back of the notebook 

Then pick your cute puns or stickers

Add to the front of the cover and look at how spectacular and all the possibilities 

Can you stand all the cuteness 
How fun are these and what little girl or boy wouldn’t love this instead of the traditional store bought Valentine Card!!!

Happy Crafting

xoxo
T

Tuesday, October 3, 2017

NEW Photo Mailers

Most crafters can make something out of anything. Which is where this idea came from.

Awhile back I made this mini folded album out of a 6 x 12 sheet of paper...I had tried to make a fun velcro closure and used the stickie kind. Well it never really adhered - it was meant to easily open and close and when it kept sticking well I gave up. The paper was cute and the paper was fun but I hadn't figured out how to keep it closed.

That was last year. Fast forward to recently...like a month ago. I had sheets of 6 x 12 paper from other paper bag albums and wanted to try making one of those albums again - well guess what I figured it all out. 

Here are the NEW version of the old idea I had. 
I used left over papers from the Echo Park Bundle of Joy kit and made what I am now calling

PHOTO MAILERS


Here is the MAILER opened up once


Here is the mailer opened up twice.
I added more cardstock for the photo mats and used some die cuts & stickers from the kit to add the accents and embellish the inside photo mats.


Oh and how incredible easy was it to figure out this closure. Sometimes we crafters make things super hard - when the easiest way is usually the BEST way. 

Extra paper folded around the closed mailer to make a simple slip on and off belly band.

EASY!!!!!


Part of the reason for making these small photo mailers is that I like to have small priced items at my craft show - for people or even kids who don't have much to spend but still love giving handmade gifts. I have found selling at craft shows over the years that you should always have lots of different but similar items at varied price ranges to accommodate all your buyers. Just  a TIP!


Thanks for stopping by. 
this is my busy craft prep season so forgive the in and out of posting here on the old blog.

Ciao Tina


Friday, June 30, 2017

for the love of Burlap

I have total love for Burlap - and if you have ever touched the stuff there is really alot not to like about it. It sheds when you cut into it and its rough to the touch but the colors it comes in are dreamy and I am extremely fond of making banners out of them - and truthfully not much touching going on with banners - just take them out and string them up...

Here are few I just made and listed in the shop and I took these photos with some of my sweet holiday gnomes.


aren't these banners fun and look how great they look with my Gnomes.

Check out my instagram feed for a video I shared of my mantel decorated with all the Fourth of July goodies I have made and yes they are for sale in my shop.

Hope your week has been a crafty one.

xo
T


Wednesday, June 7, 2017

Crafty Girl Ideas #2

Here is another episode of

CRAFTY GIRL IDEAS

If you know me and this here ol blog then you know I am an avid paper crafter more specifically a scrapbooker and with that skill - there are always left over paper scraps and embellishments from used kits. 

I usually make mini paper bag album kits to sell - so that you can make something at home in your own style - well I also like to make tags and add them to packages when I ship out purchases.
I made a quick video to show you what and how easy they are to make 

enjoy


We are in full summer mode here at Casa Curtis - all the kids are off and we are slowly filling are summer calendar up with fun things to do.

Happy Hump Day!!!

xo

Sunday, May 21, 2017

Faith

**This is a religious post - I hope not to offend anyone!**

I grew up in a catholic family. I went to church every Sunday with my parents and went to Sunday School after words and my mom was the teacher. We did alot at our church it was a regular thing. It's all I knew. 
I went to catholic school for my entire education 12 years. Grew up with all the religious expectations that are bestowed upon us through Catholicism. It was my life. 
But once I grew up and moved out of the house. I didn't "HAVE" to go anymore. It was my choice.
In my 20's it didn't really fit in. I had a son at 21 and he was less then well behaved. So, I never wanted to inconvenience those that wanted to be at church. So I stopped going.

I would always go when my mom made a special request for my family to attend. Mother's Day, Easter and Christmas. I went for her. 

Over the years I have always thought about going back but again it doesn't seem to fit in. We have 4 kids and something seems to be going on ALL the time. Excuses I know but its all I got. 

Now a days, it's split. My husband will go with me if I ask. My oldest daughter wants to go, my middle daughter has no desire to go and my youngest son is not interested either way, or he will go if he can bring his phone and his earphones and watch videos during mass...that's not happening. So you see - split....

Lately, I have been feeling a pull towards my Faith again. I recently bought a journaling bible and have started to read the bible again. It feels weird. Like I am doing something that doesn't feel natural. I just think it is something I have to ease back into. 

I am a paper crafter as I am sure you are aware of (if you read this here ol'blog of mine)
I recently bought this awesome paper kit by @IllustratedFaith and it is amazing. The graphics and the designs are so cheerful and colorful and the images are all faith based and it rang something inside me and got me excited - 

i created these 2 Bible bookmarks using the papers and embellishments 


See aren't they super cute?


wouldn't be bad to look at while reading in your bible right?

I am going to be listing these in the shop tonight.

Here's to my Faith and finding my way back..

Thanks for stopping by.
XO

Wednesday, May 17, 2017

It's a New Month

Wow - its been awhile since the last time I posted. Where did the time go? Last time I shared a trip I had just taken with my girlfriends. A week later I went on another trip with my husband to Nashville, Tennessee. It was Literally a weekend trip and it was so fun and jam packed with sight seeing. I will share more photos of that trip soon.

I wanted to share some of my newest little creations. My GNOMES.

I am obsessed - as I am sure I have shared before - but these little guys are the cutest little things ever.

So these are my RALLY GNOMES
I made this set with Dodger and Angel fabric and added some cute little baseballs on the their caps.


And because I wanted to make sure I didn't leave any sports fan out - Here are some more 
this time its soccer and basketball Gnomes...
LOVE LOVE...


I am also making them for other Holidays - currently just finishing up the 
Patriotic/Americana
4th of July GNOMES>

I am just so happy with the way they came out!


Here is a close up of the fabric for the Americana Gnomes


In case you want to add to your home decor or want a fun gift idea - these are all up in the shop right now.

Visit onecraftymess.com and click on the shop link at the top.

Happy Wednesday folks.


Wednesday, March 1, 2017

New things to share

Hello thanks for stopping by today - I wanted to take a minute a share some new bits I have been working on . I know I shared some string art I started making awhile back and here are the newest pieces for the Spring season.

I am in LOVE with deer heads and had to try one with string and guys I think this came out FANTASTIC...I added some fun little pink paper flowers around its crown to finish it off.
Another obsession I have been having lately are GNOMES - not only am I sewing them up but now I tried them with string and eeekkk....i am so in love with these cuties.


To finish this off - I made a special one for this months holiday - ST. PATRICKS DAY!
I painted on the word to finish this baby up.
I cant wait to make more of these and add them to my mantel...


I am on my way to add to them to Instagram and then list them in my shop...

Hope your week has been the craftiest ---

Be back soon 

Hugs and more hugs

T

Friday, November 25, 2016

Seriously tho'

No excuses for not posting other then the usual craft show Season preparations going on. As,I speak I am at a craft boutique trying to sell my wares - first time at this show so things could be better but I can't complain - its 3 days long so we'll see how things go.

I wanted to share wth you some fun string art I have started making and will be listing this holiday season in my shop


Why? You ask - because this world needs more cuteness!!! Wouldntcha agree?


Anyway check out the shop if your interested!! Onecraftymess.com

Happy Black Friday to ya'

XO


Thursday, October 27, 2016

Quick craft-making tags

Now when I say quick craft I mean fairly quick. Once you start making these you'll make them for every occasion. The coolest part of these tags are that you can make them using the things you have on hand such as acrylic or wooden stamps and ink pads and tags that you can either die cut or buy from me - in my shop (wink wink)


As you can see by the photo - seriously I only used basic supplies - but I mean how cool are these tags. Can you imagine all the possibilities???

The best part about these tags is that they are so versatile and can be used, depending on the occasion, for gift tags to add to your gift bags (in place of a card) they can be added to a bottle of wine for a hostess gift and they can be used as place cards for your Thanksgiving table or any other special table setting.

Hope you try it out and if you do please share them on Instagram and tag me so I can check them out.

Happy Crafting!
xo
T

Monday, September 5, 2016

New Creation

A few weeks ago I was busy die cutting felt shapes and I made some fun little felt banners which I will share later...but I came up with a NEW CREATION that I needed desprately....A book mark (haha) but really a cool looking bookmark...

the premise behind the well needed bookmark - is that I LOVE LOVE LOVE magazines and I buy alot and well I usually only find time to read them in the bathroom (I know TMI) but I never seem to have a bookmark and I hate to fold the corners and sometimes I end up using a piece of toilet paper (weird I know) so this cool bookmark came into my mind and I set out to make it.

I used some elastic 


sewed up the meeting points - I cut the elastic a bit smaller then the full length of the magazine. So basically I pulled it and made sure it was tight then cut it - you want it tight so it doens't just fall off. while its holding your place.

 
then just took my die cut felt flower stack and sewed it on to the meeting point of the elastic to cover the thread up.


and here she is all finished - isnt shee pretty and the cool thing about them is that I can keep them in the bathroom with my other head bands and keep a few on my bedside table and one in my car - they are small enough to keep in my bag to - anyway - I think its pretty clever...Plan on making more and adding them to my shop - 

Happy Monday and happy crafting.

xoT