Wednesday, December 19, 2018

Crafty girl ideas - Christmas edition

Boy - have I been MIA on this here old blog of mine - no good reasons other then life and the holidays.

Today I wanted to share the cutest set of ornaments ever to come to life. 

I used one clear plastic ornament that has to be snapped together - which are ideal for placing Items inside the ornament and easy to customize. 

I started off with tracing the ornament onto a piece of card board - that’s what they are both Based on...


Covered the base with scrapbook paper 
Then for this ornament I added some wood veneer trees and a sticker


Inked the edges of course placed snow in the center of the ornament then hot glued the clear dome over that. 


Added a doily to the back of the ornament and a another circle of scrapbook paper just to make it more festive. 


This second one started with a set of stamps and dies by Prima marketing - this is literally a piece together ornament - it took a little longer then I had planned or wanted to spend but it came out super cute. 

Started with the same card board base and scrapbook paper 
Then stamped and die cut some of the pieces 

Rolling snow covered hills - stamped and die cut 


Stamped and die cut the houses which are so small but so cute & actually they are the perfect size for this project. 


Finishing touches are some sparkly snow and some other stamped and die cut pieces and of course the Pom Pom fringe to hide the pop sides placement of the dome!  Cute tho’ wouldn’t you agree? 

Tag me if you try this or share some of the ones you’ve made

Happy Christmas crafting friends 

Saturday, November 17, 2018

Friendsgiving

A few years ago I was introduced to FRIENDSGIVING  by some friends of ours and it was a fun idea - sadly I’m no longer friends with those people...but I decided to keep it going with my other friends and because they are special to me I wanted to give the ladies a special gift - nothing over the top but something to say I thought of them 


So I decided to bake them some LOVe in the shape of chocolate chip cookies. But being crafty I decided to spruce it up a bit. First was making a special tag 


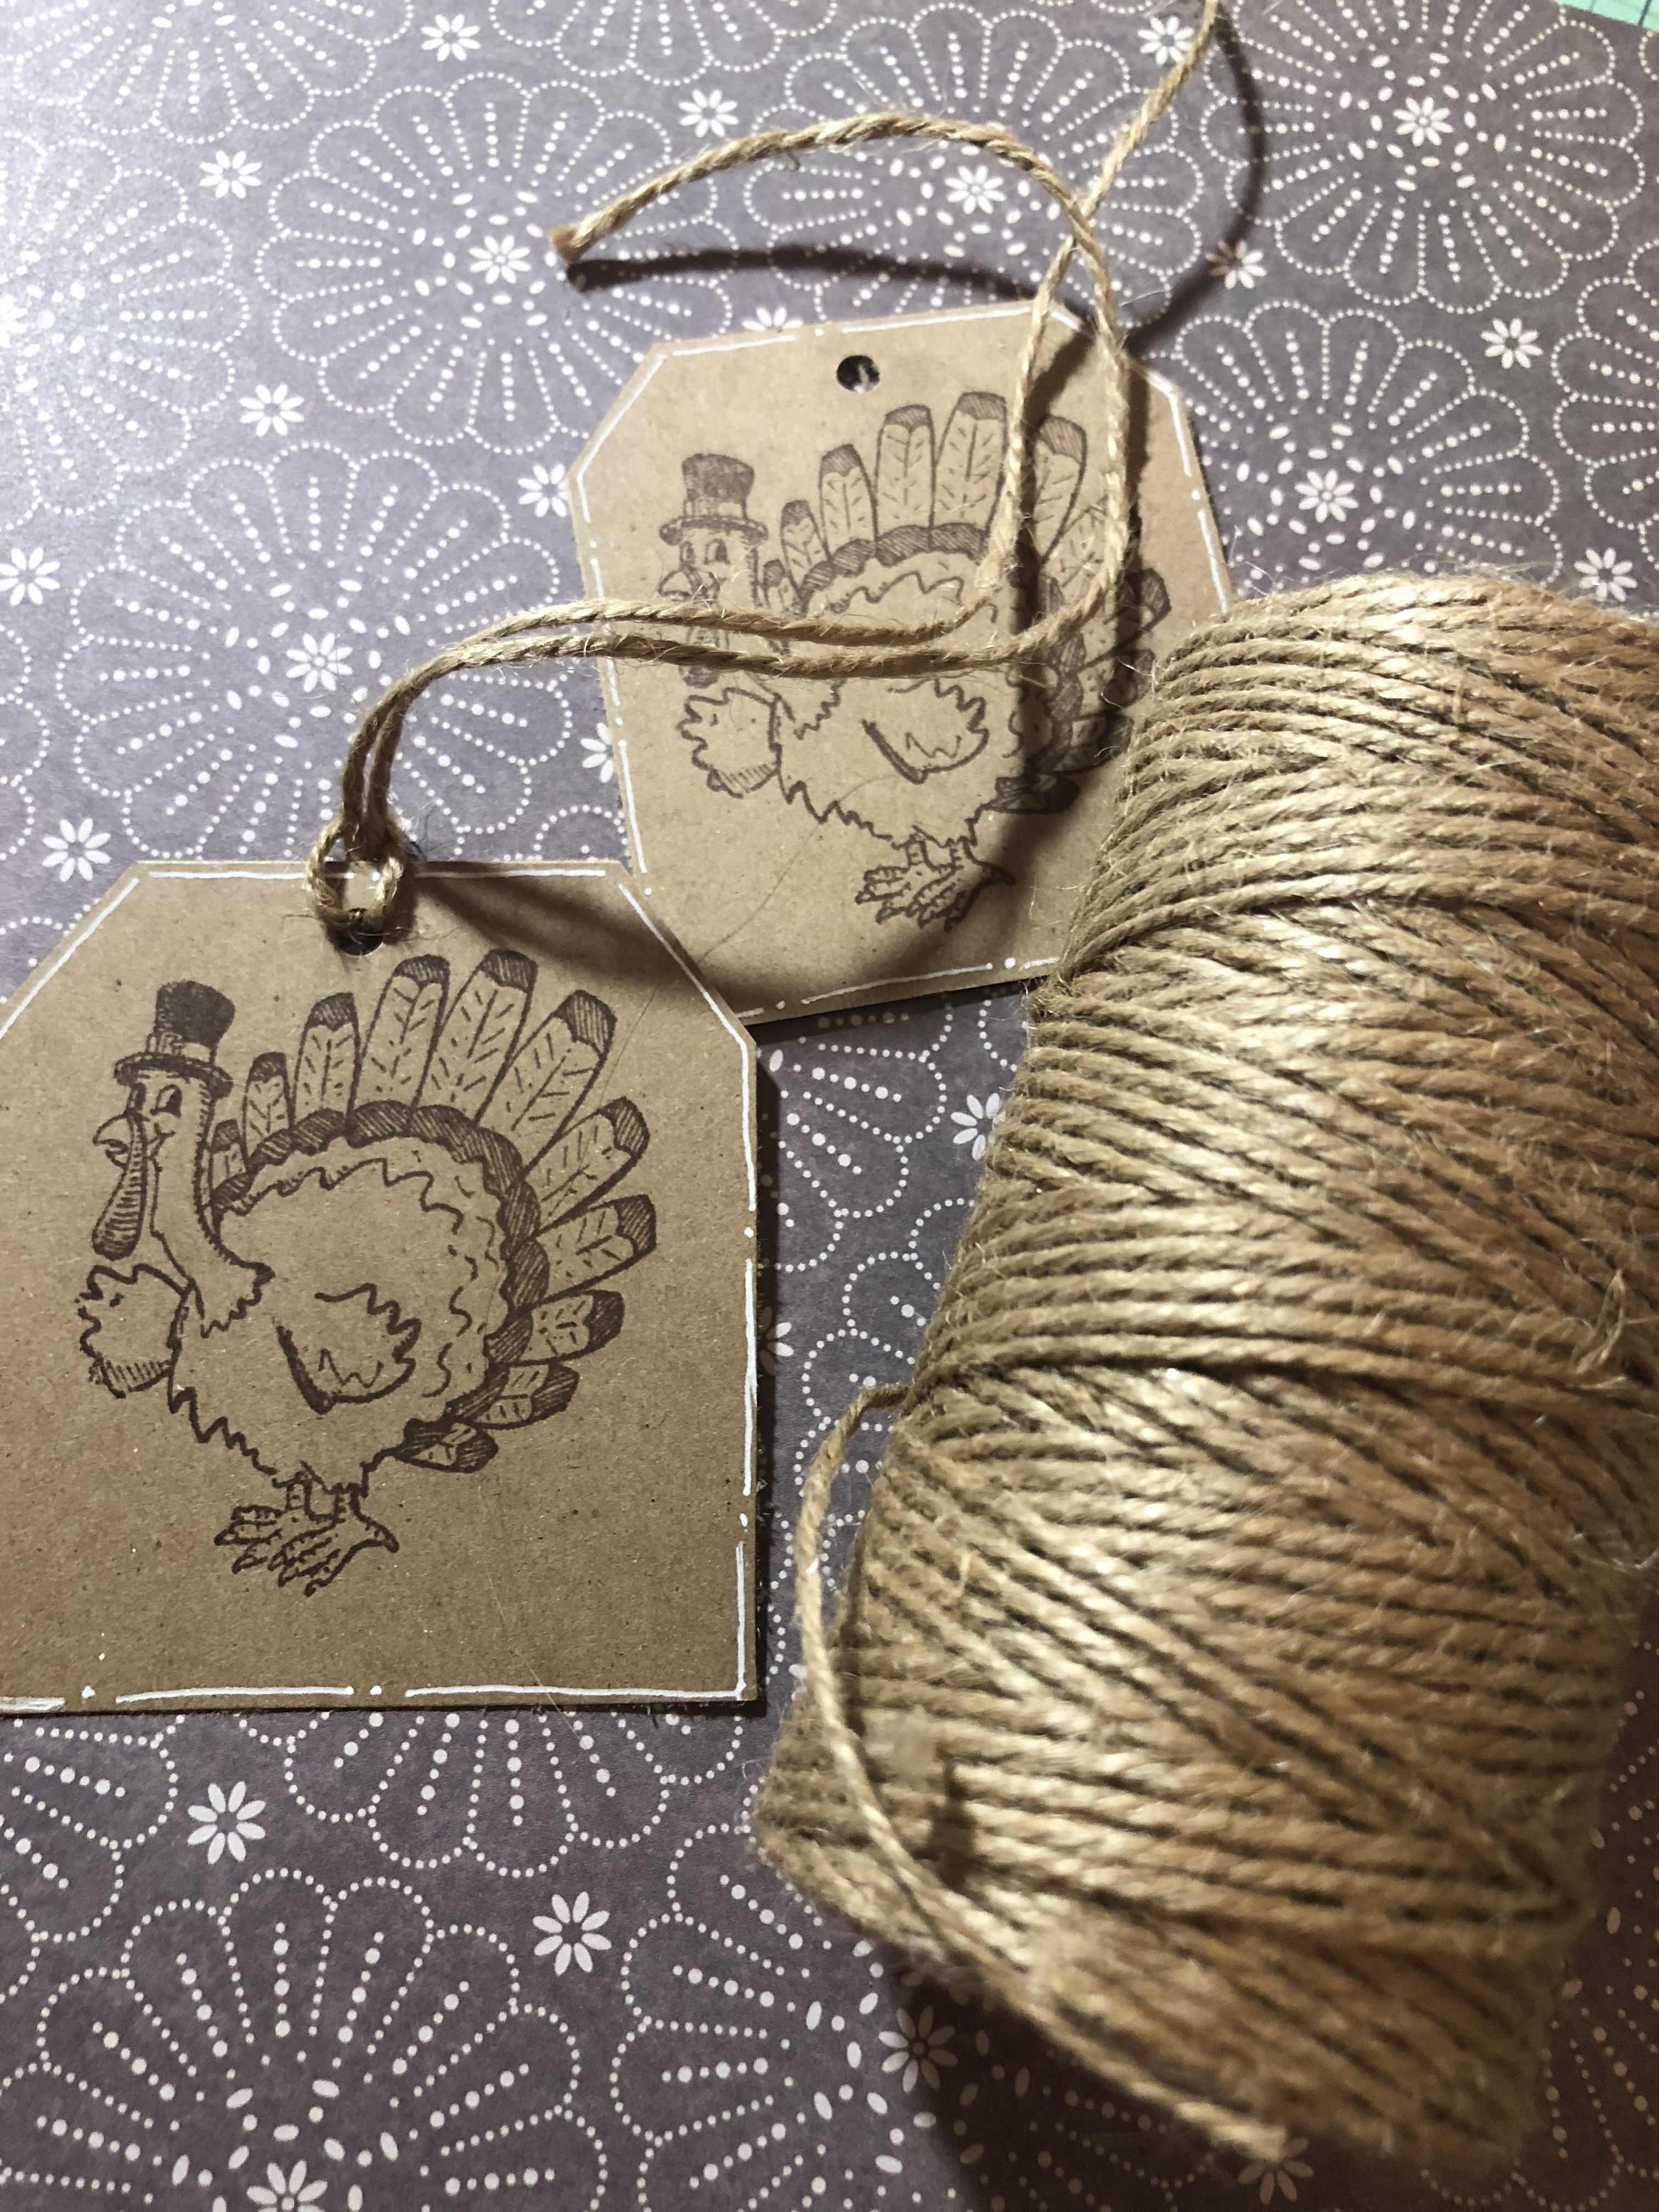
I made my own tags using this turkey stamp 

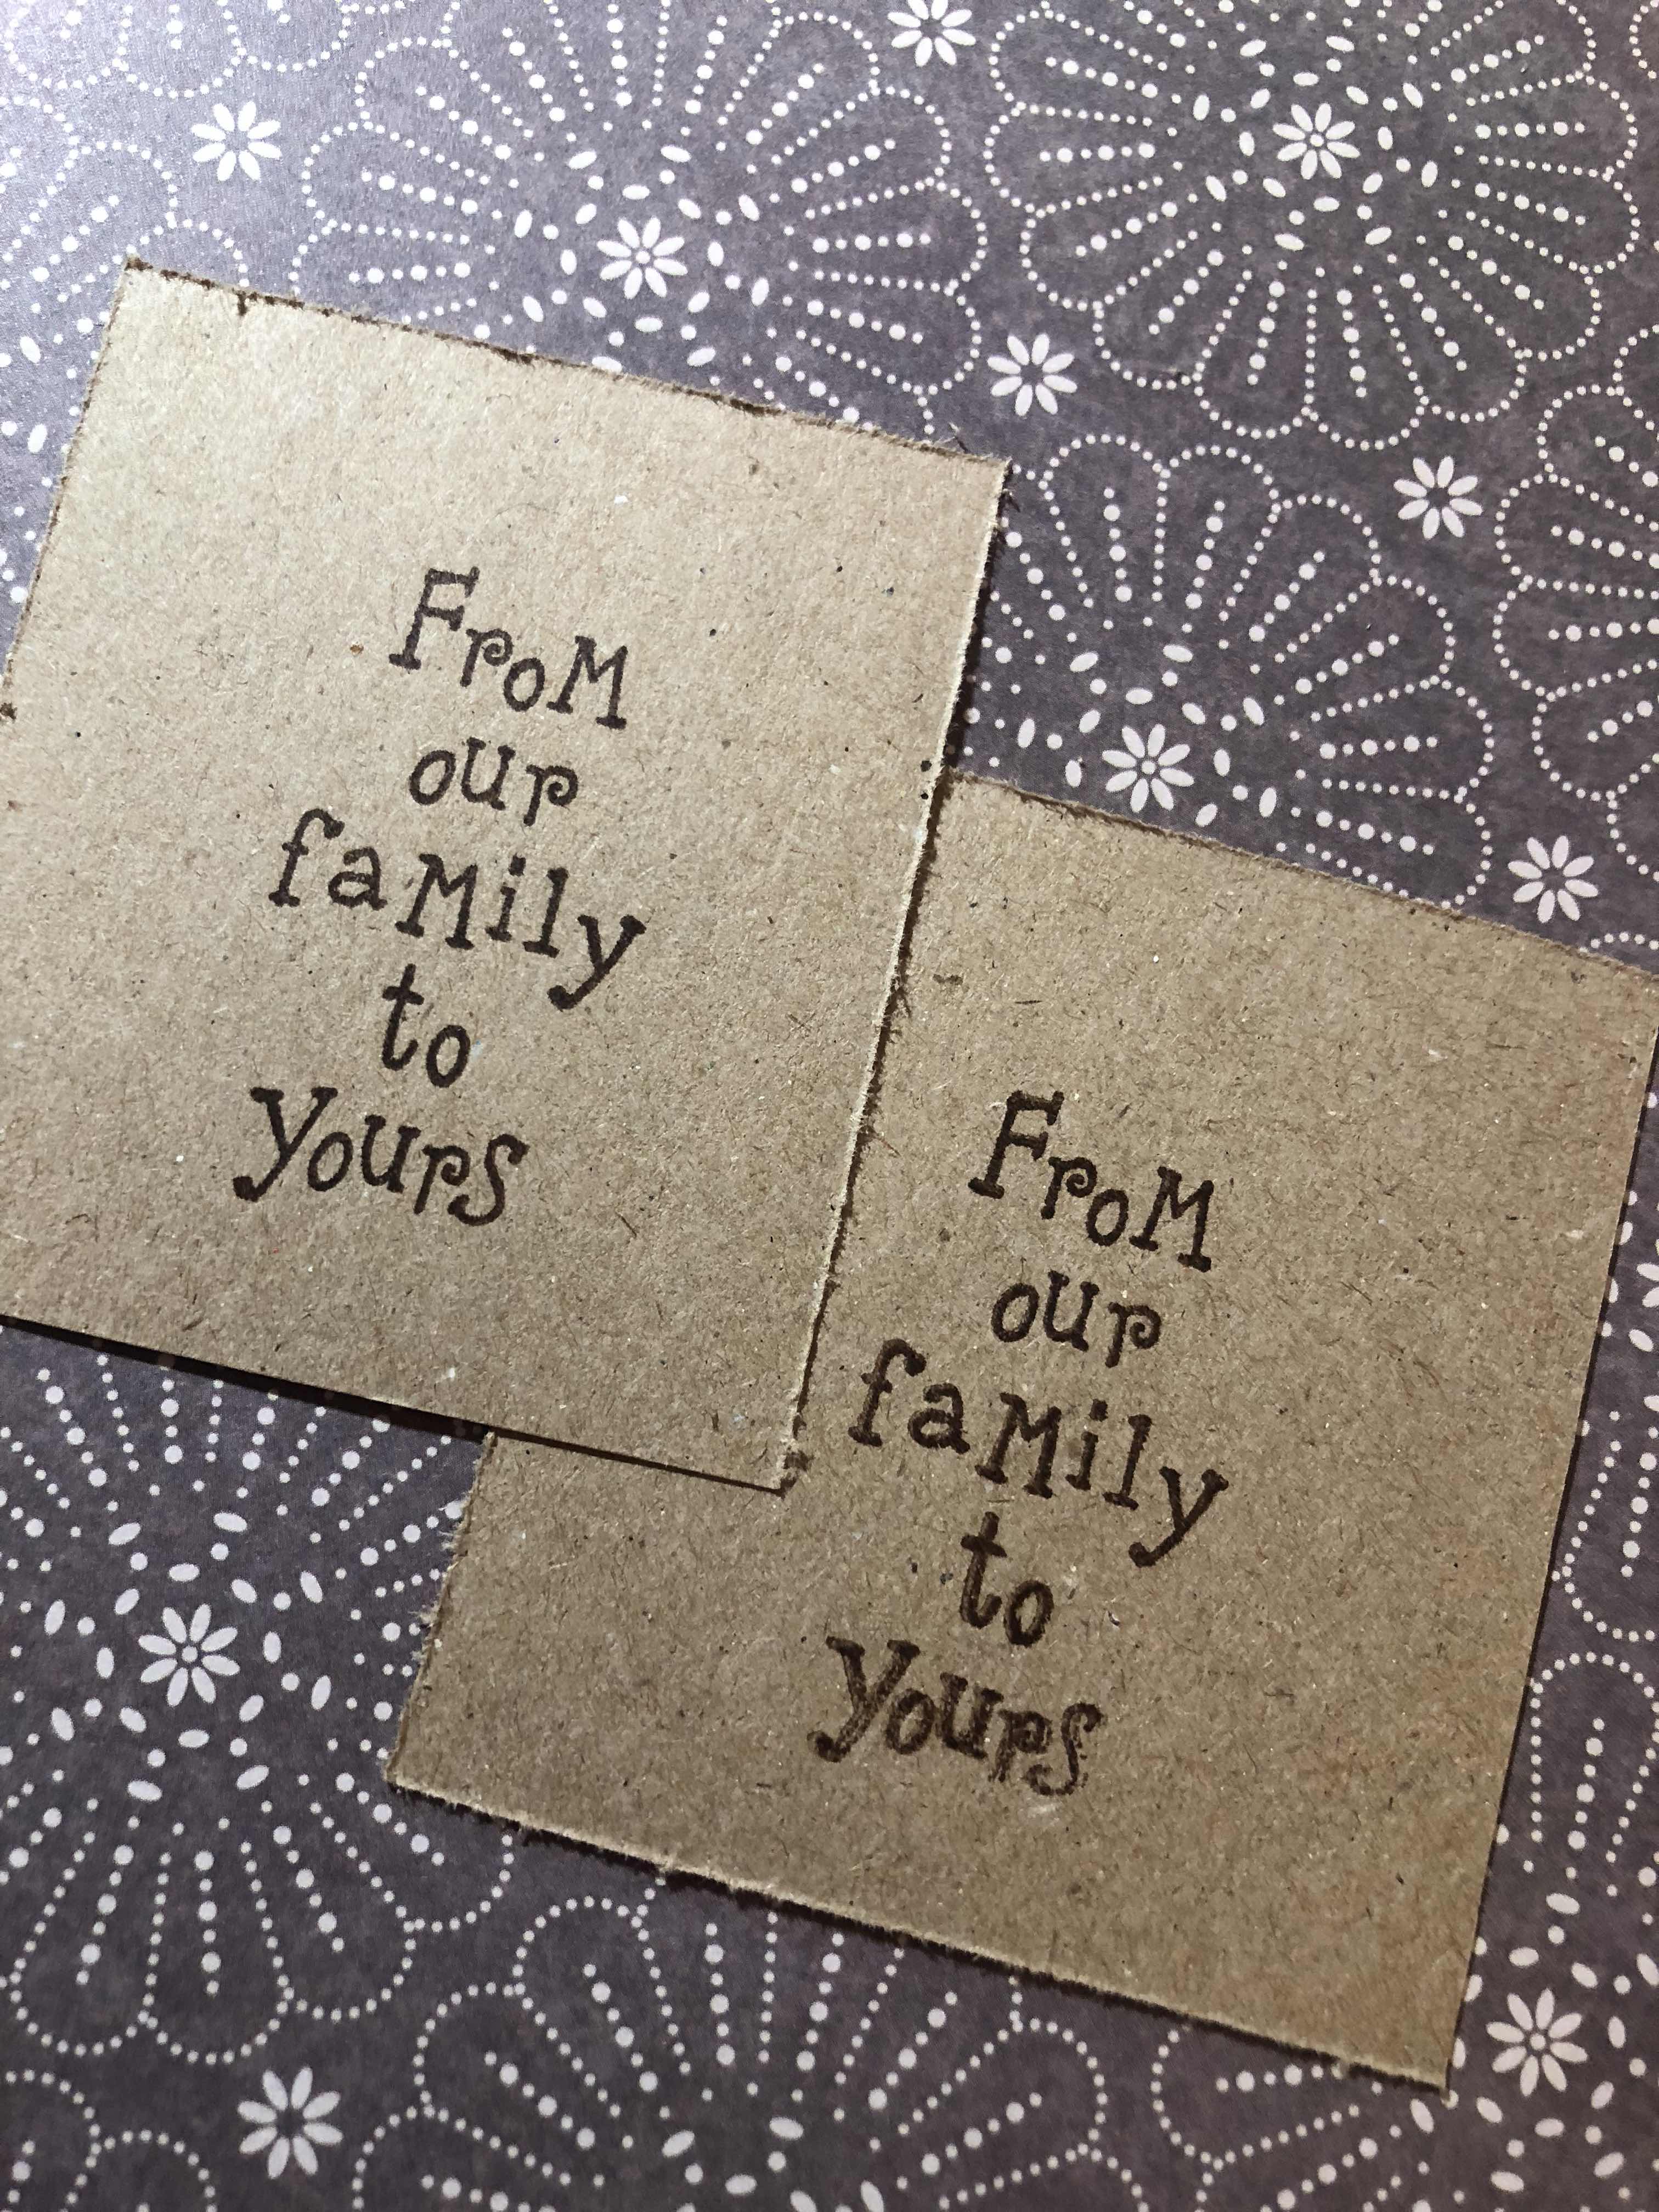
Added this to the back of the tags 

Then i trimmed the corners  

Added some white hash marks to the tags because details! 

Added a hole 


Strung up some jute and what started 


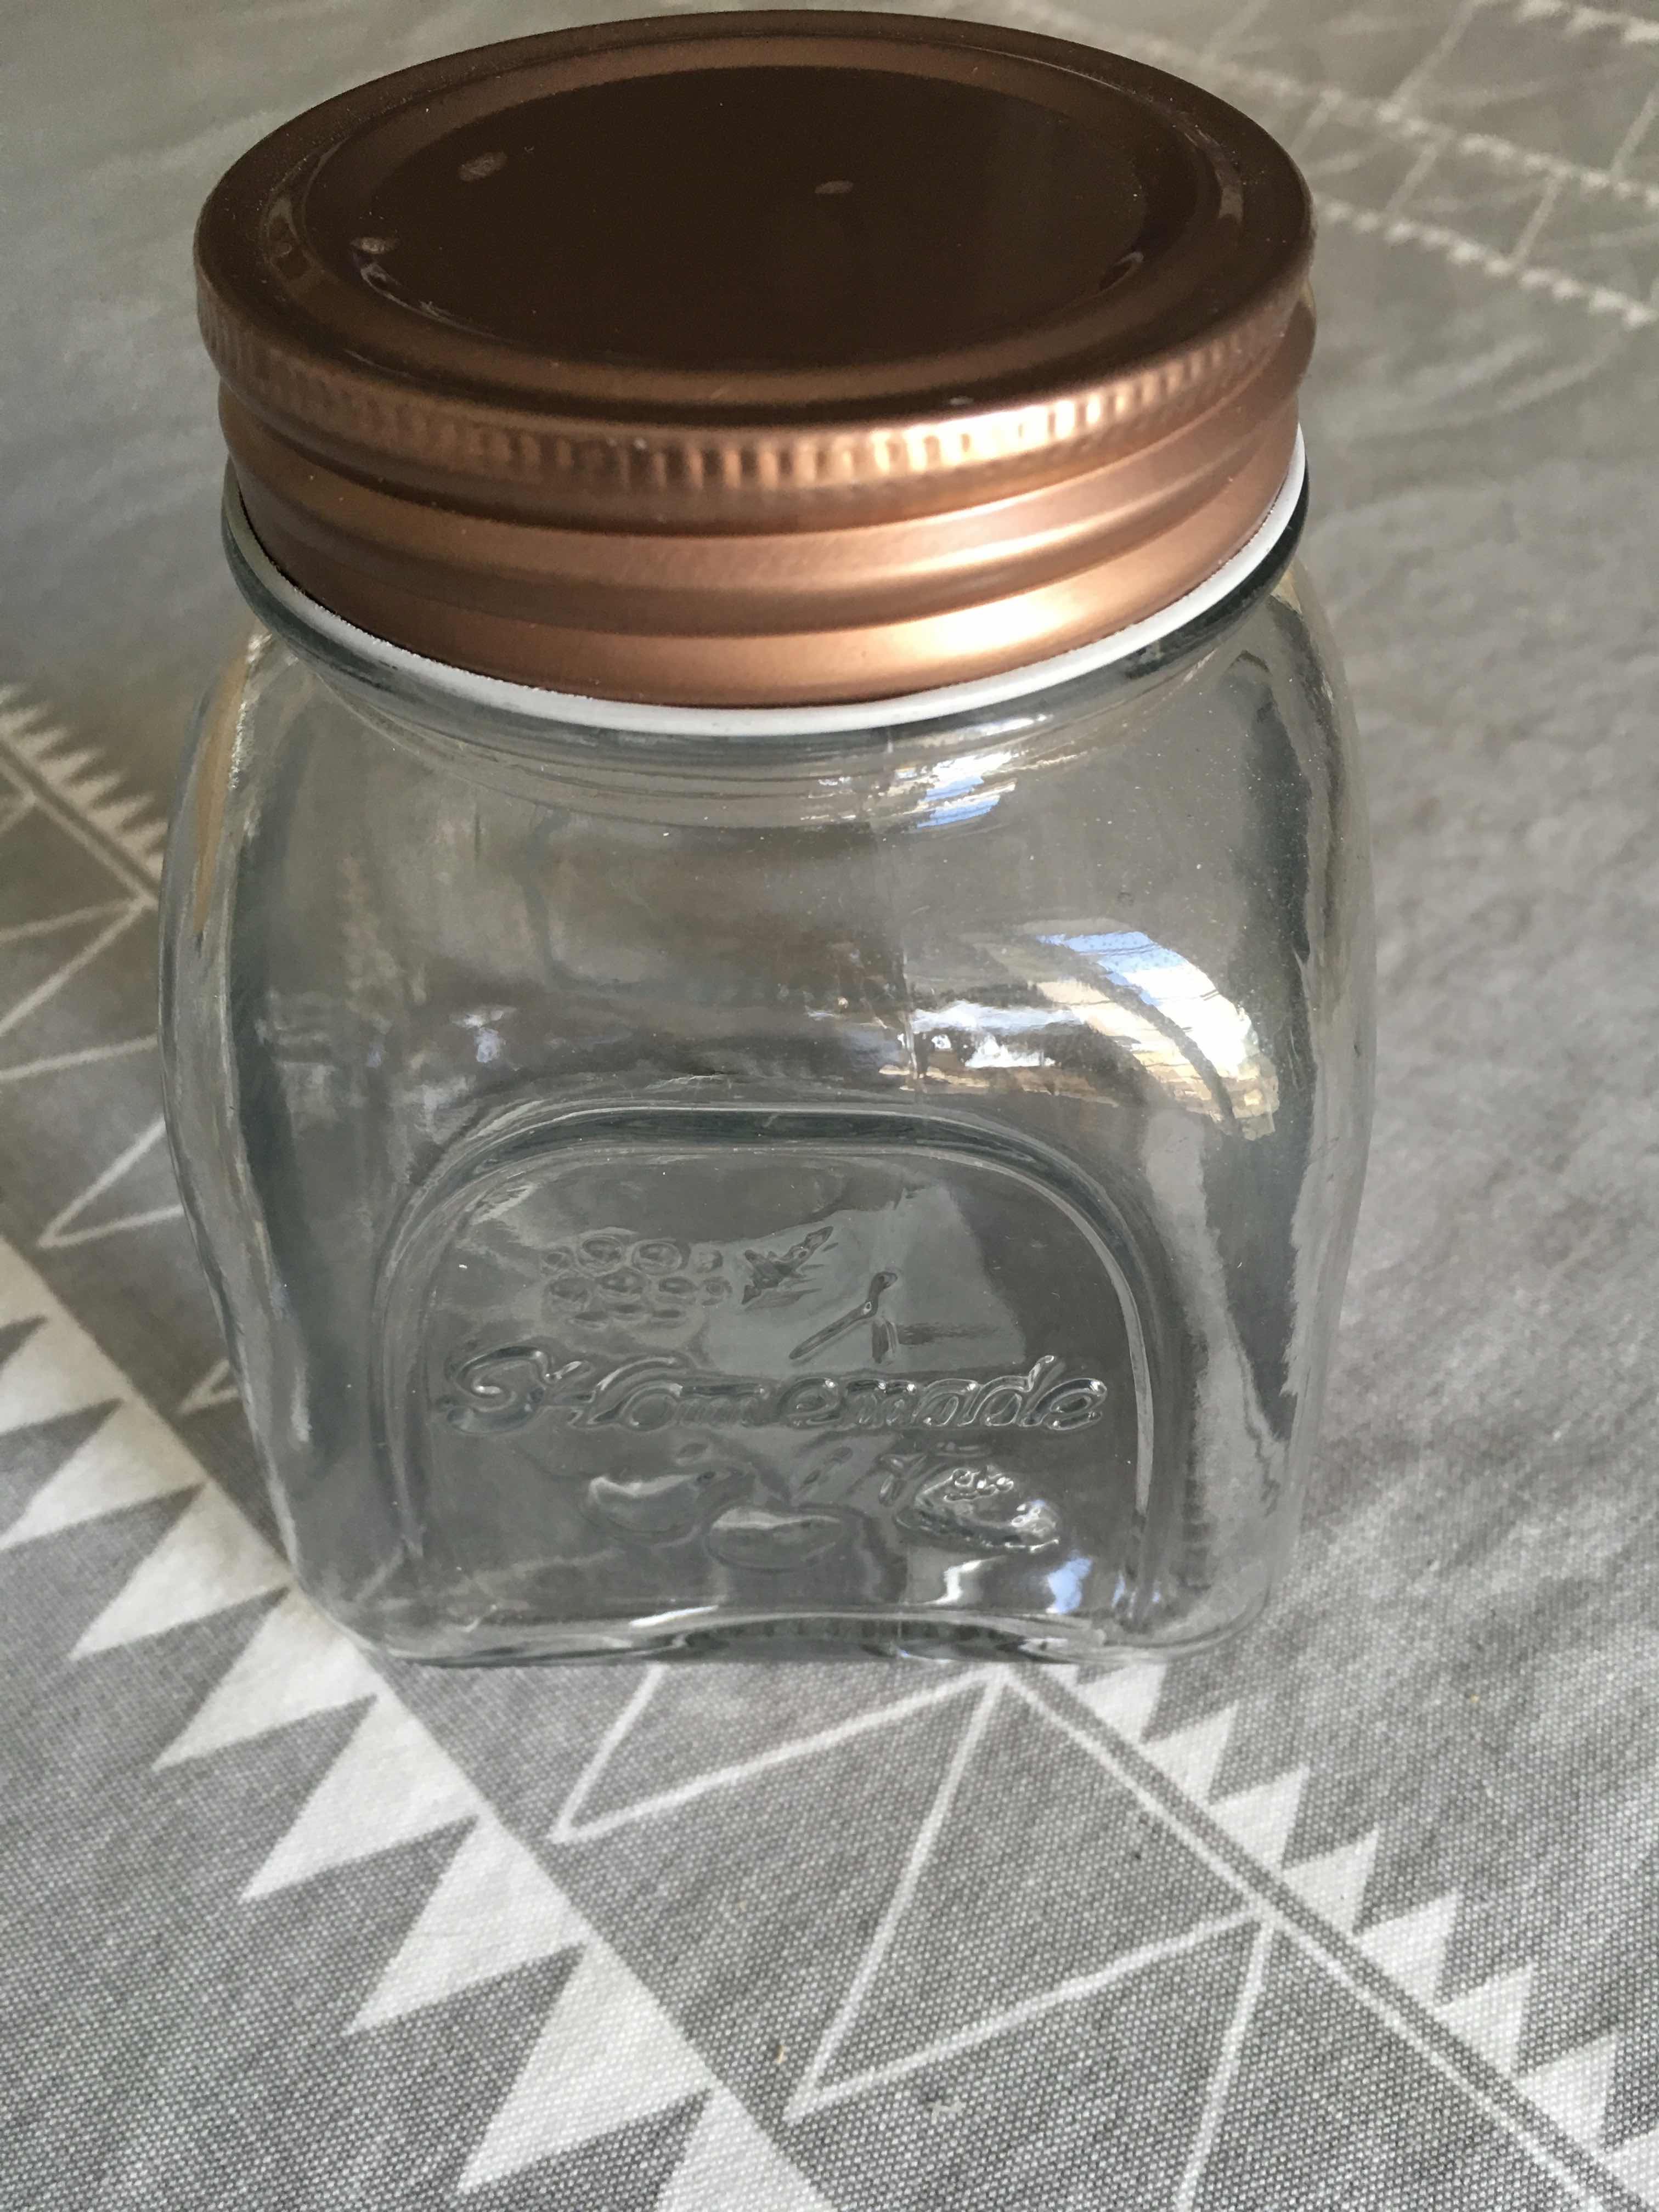
Out as an ordinary boring jar and made it look like something you could have bought in the store.

Cute right? 

Filled with yummy treats 


Here’s hoping they LOvE it. —- they DiD 

Have a beautiful weekend. 

Xo 

Tina 

Friday, November 2, 2018

Halloween fun

Hey ya’ll hope your Halloween was fun 

I wanted to share photos of my kids using their treat bags we made the day before our trip to Disney 


You can’t tell but the girls have theirs on their shoulder. They all used them this night and again on Halloween night they - came in very useful and now we’ll have them forever. 

Sometimes it’s more personal and cheaper to take something simple and ordinary and make it your own with a little paint and elbow grease. 

Have a great weekend friends 

Tuesday, October 23, 2018

Halloween Trick or Treat bags

Hey ya’ll wanted to share a fun craft you can do with your kids for Halloween. 

My kids are 18, 16, and 11 so we have gone through plenty of Halloween trick or treat bags - we started with the typical orange plastic pumpkin - the one that cuts into your hand when it’s full of candy. 

We tried the pillow case - which leaves kids disappointed when they don’t get the whole case filled because really that could weigh 50 pounds if filled 

We also had grandma make some which were cute but small...so now, today for this Halloween, I made some more practical customized treat bags 


I started off with these blank canvas bags which could work to throw over your shoulder if the bag gets to heavy and for bigger kids they can hold it from the handle without it dragging on the floor 😁


I asked the kids what they wanted and I just drew the image on the front and had them paint them
(truthfully I did 2 because my kids are at school today but my daughter did paint hers) 


Choose your colors and paint brushes - these bags are nice and unwashed which helps with the paint going on and is forgiving - note: if you use a pencil like I did some of the colors of paint do not cover up the lines so definitely don’t use a sharpie unless it’s part of your design. 

Also, if you are using acrylic paint it will seep through the bag so be sure to add something inside the bag before starting to paint, such as a piece of card board. 

Once it’s done be sure to cover with an old towel or cloth and iron just to secure the paint if you want. You shouldn’t  have to wash these bags since the candy is mostly sealed - 
So you could just hang up for next year.!


Cute right? My old east painted in my penciled drawing 


And customizable to each child or friend. 


I’ll have more to share tomorrow after our fun filled evening we have planned - stay tuned. 

Happy Crafting friends

Tina

Friday, October 12, 2018

New Halloween to share

Hey ya’ll just wanted to pop In and share these super fun Halloween goodies I’ll be taking to my show in 2 weeks 


Can you handle it? The best part is they easily make a cute vignette for any room in your house 🎃


Stay tuned for more previews 

xo