Showing posts with label valentines day. Show all posts

Monday, February 9, 2015

Washi tape saves the day!

I know I am not alone when I say that I am IN love with Washi Tape! I mean forget about the amazing ray of patterns and color but it's remove able and is reasonably priced so it's easily collectible! So here was my dilemma: my 2nd grader needed some valentines for his class party this Friday...


I mean how could I resist this face- so because he's a boy and they are not about bringing candy to school (anymore) I wanted to try something different. Here's where my other love for the dollar store comes in...every holiday they have coordinating pencils out in abundance. $1.00 for 12 so I bought 4 packs=$4.00 then I found these cute pencils toppers at michaels for 2.97 - 40% = cheap! Came with 30 toppers (maybe more) 

Then I looked on Pinterest (another love of mine) for some cute pencil inspired valentines ideas and came up with the slogan VALENTINE YOU ARE ALL WRITE...get it? Cute right? 

Then I headed over to picmonkey and crated my own design on their site some for boys and some for girls....and printed them out in super small fashion 3x5 size. Ok everything is looking good - here are my supplies getting started...


Then the hardest part was how to attach the pencil to the tine♥️

I tried several ways...here's my proof


I punched some funky makeshift holes but then it looked icky, then I forced the pencil in and the whole valentine was bent- yuck, then I tried folding it and taping it but most of the valentine was gone - arghhh- then it hit me the solution to my problem was the beautiful and lovely and oh so readily available on my work table WASHI TAPE...


Nod here are the finished Valentines day gifties for my little boys class! Score 1 for the super crafty mom that I am (wink wink) then my 14 year old comes out and says oh wow those are super cute good job mom....I mean really Score 2 for me - my days I starting out beautifully! 


By the way - this whole do hickey cost me less then 5.00 and with plenty to spare for my girls to keep for themselves! 


Anyway I hope your crafty Valentines day creations are coming along nicely! I am linking this project up to the parties above...

Have a beautiful week!
Tx


Friday, January 16, 2015

Burlap dec


So I'm feeling the L💚VE bug right now and have been making some fun Vaelntine's Day goodies.

Look how cute and fun - burlap is an awesome material to make so many cute items. If you like the rustic and shabby look then this would be an ideal fabric to work with. I know these pillows are crude, with some jagged edges but I love it.


This pillow didn't come out exactly as I was hoping for. My machine was acting up. So instead of a nice sewn line around the letters I got this icky mess...from afar it looks o.k. and besides again it goes with my rustic crude charm!
 
I have a fun video to share with you later this week. Of some easy to make mini banners.
 
Happy Crafting.
 
xoT


Wednesday, February 12, 2014

Crocheting Hearts - day 40

Boy - talk about attention issues...I tell you when it comes to crafting I am all over the place. Yesterday I was sewing and today I am crocheting....I have secretly always loved crocheting but can really only do basic stitches and cant read patterns so I never really try to advance my skills in crochet, but recently I saw some super cute crochet hearts on some blogs and well I tried my hands at several different patterns and couldn't get it to work out -

 
see what I mean...icky

 
one of the better ones but no two are ever the same or perfect or close to decent. Its a hit or miss.

 
So what's a girl to do? She looks on YOUTUBE of course!!!
 
I found the easiest and truthfully quite addicting way of crocheting the cutest and sweetest little hearts...Like they are super quick and super gratifying and ADDICTING - didn't I already say that {heehee}
 
But look at the difference...
 
Aren't they the cutest things ever and look I have made them in every color.
Red, white, bright pink and turquoise.

 
Don't the red & turquoise hearts look amazing together.

 
And don't they look great as a garland...I made a bunch - see told yeah-can't stop making them...I'm linking this up to the challenges above.
 
Here's wishing you a wonderful Thursday. Happy Valentine's Day
 
xo


Sunday, February 9, 2014

day 38 - Felt Heart

I was very into making my Valentine Mantel this year - mainly I didn't want to buy too many silly little bits at the craft store - I wanted to try and use what I had. (My goal for the year is to use what I have and spend less.) So I brought out my felt and just kept it simple.
 
 
I cut out a heart shape from the felt then took 1 of the hearts under the sewing machine and just free hand sewed the words "I LOVE YOU" I like the look of the sewing script.

 
After wards I turned the hearts inside out and closed up the heart leaving the opening up at the top. Stuft the heart with poly-fil and then whip stitch the opening closed.


Added a ribbon hanger and some pretty seam binding and a leaf & berries to the top///

 
Cute right and the best part is that I can keep it up all year long!
 
I am linking this up to the parties above.
 
Here's to LOVE and hope your heart is full!!!
xo

Friday, February 7, 2014

Valentine Mantel - Day 37

Just wanted to share my Valentines Day mantel


All accented with my homemade goodies - like the pom pom garland, the LOVE stamped burlap banner and my free hand stitched heart on the right.

 
just bought a few more things to add and will photograph it again.
 
How are you Valentines Day decorations coming around?
I am linking this up to the parties above.
 
Have a great weekend.
xo


Thursday, February 6, 2014

day 36 - Button LOVE

 
I am sure we all have a fondness for buttons. In my opinion, the vintage ones are best. I have so many and most are just in jars, not being used but I have this weird habit where I want to make something with them but HATE to use them so most of the time I walk on by and just watch them look pretty in their jar.
 
This time I decided to use them by making something I had already made before in a different color scheme .
 
 
I used a vintage embroidery hoop attached some pink burlap then added some white vintage buttons in the shape of a heart.

 
Sweet right? These are fun to hang in a group setting in your studio or in a vignette for Valentines Day.


I made one in regular burlap and red buttons too - cute and all in a group - I think would make a beautiful addition to my Valentine Décor.
 
Hope your staying crafty!
 
I am linking this up to the parties above.
 
xo

Sunday, February 2, 2014

back to it - day 33

Sticking to my "crafting" roots - I wanted to start this year scrapbooking again. At least attempt to stay on track with it - so I made a Valentine's Day page - Used some fun embellishments and some vintage pieces too.
 
 
just added some fun little tim holtz chit chat stickers to a film roll accent

 
a paper punched butterfly

 
some gold cricut letters

and only added one photo mat - for one very important picture.

 
I'm liking it - how about you? If you want it it's in my ETSY store - link is on the left side.
 
Hope you had a crafty weekend.
xo
tina
 

Saturday, February 1, 2014

Just being silly - day 32

So I was having fun making things with burlap that I thought I would try something different and a bit silly - just used BURLAP, paint and stamps...and this is what I did.


I know not the nicest thing but fun right? Or do I just have a wicked sense of humor?
Probably both.
 
I'm planning on making another one for my husband. I'll show that to you when its done - its a spin off from this pillow.

 
But if you are a jokster then you'll totally get this.
I have it listed in my etsy shop if your interested.
 
Well hope you are having a fabulous weekend.
tina

Wednesday, January 29, 2014

Pennant LOVE-day 29

You know me and my love for burlap. Well if you didn't then you will - because I have a few projects to share here on the old blog - and because I have Valentines on the brain -
they are all pink, pretty & LOVEly...
 
 
You cant really get any easier then this - cut, stamp & sew
What? yup - that easy!
 
 
These look great on your mantel - over a picture frame or anywhere you want to add a little sweet sass too.
 
Linking this up to the parties above
Have a crafty week
 
xo
tina
 

Sunday, January 12, 2014

Put a little LOVE in your heart

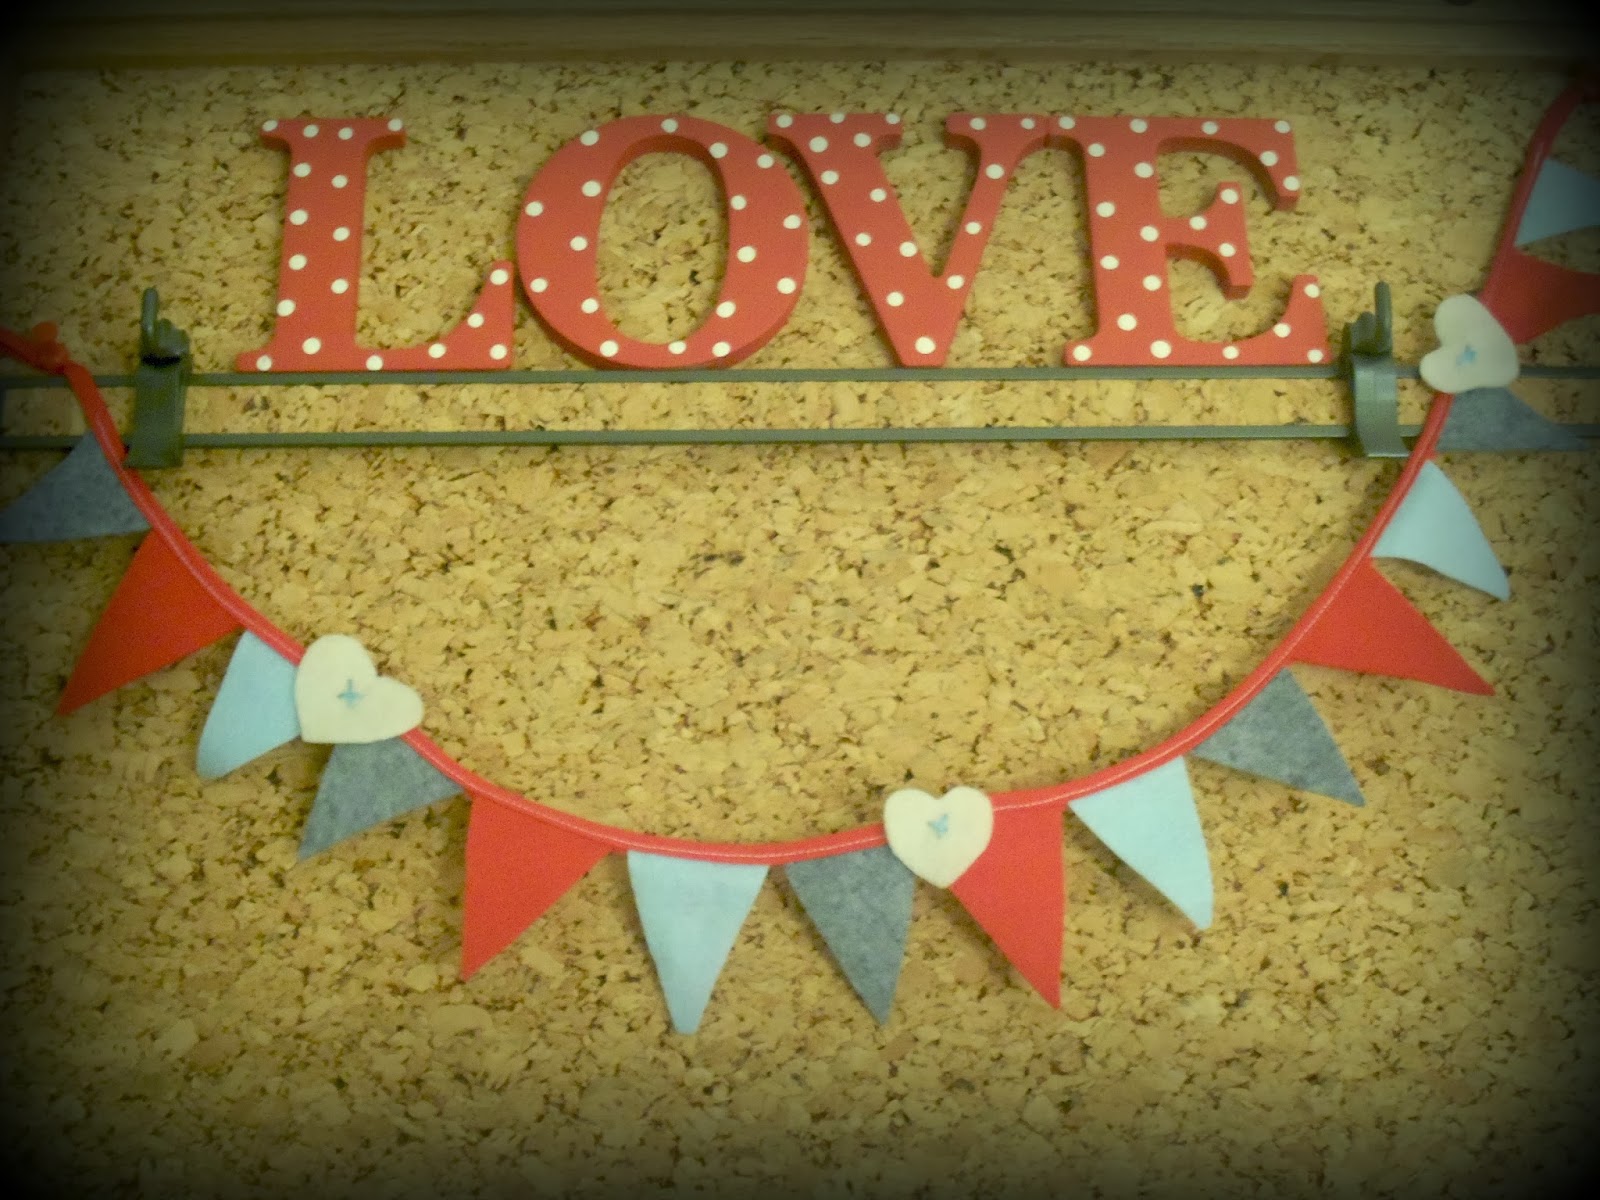
Day 12-February is the month of LOVE and so I decided to make something for my new message center. But I also wanted it to serve as something I could leave out for always. I had these letters for awhile and wasn't sure what I was going to do with them then I got an idea.

How about KEEP IT SIMPLE and just paint them! Duh!!!

so here are the letters - they were 99 cents from Hobby Lobby and are thick chipboard stuff.

 
Painted them red then added polk-a-dots!

Just used the bottom of a paintbrush

 
They came out really cute - dont'cha think?
 
then I added it to my banner form the other day and one side of my board is done!
 
 
LOVE it!
I am linking this up to the parties above...
 
Hope you are staying crafting and MAKING things.
 
Have a great week
tina


Wednesday, February 13, 2013

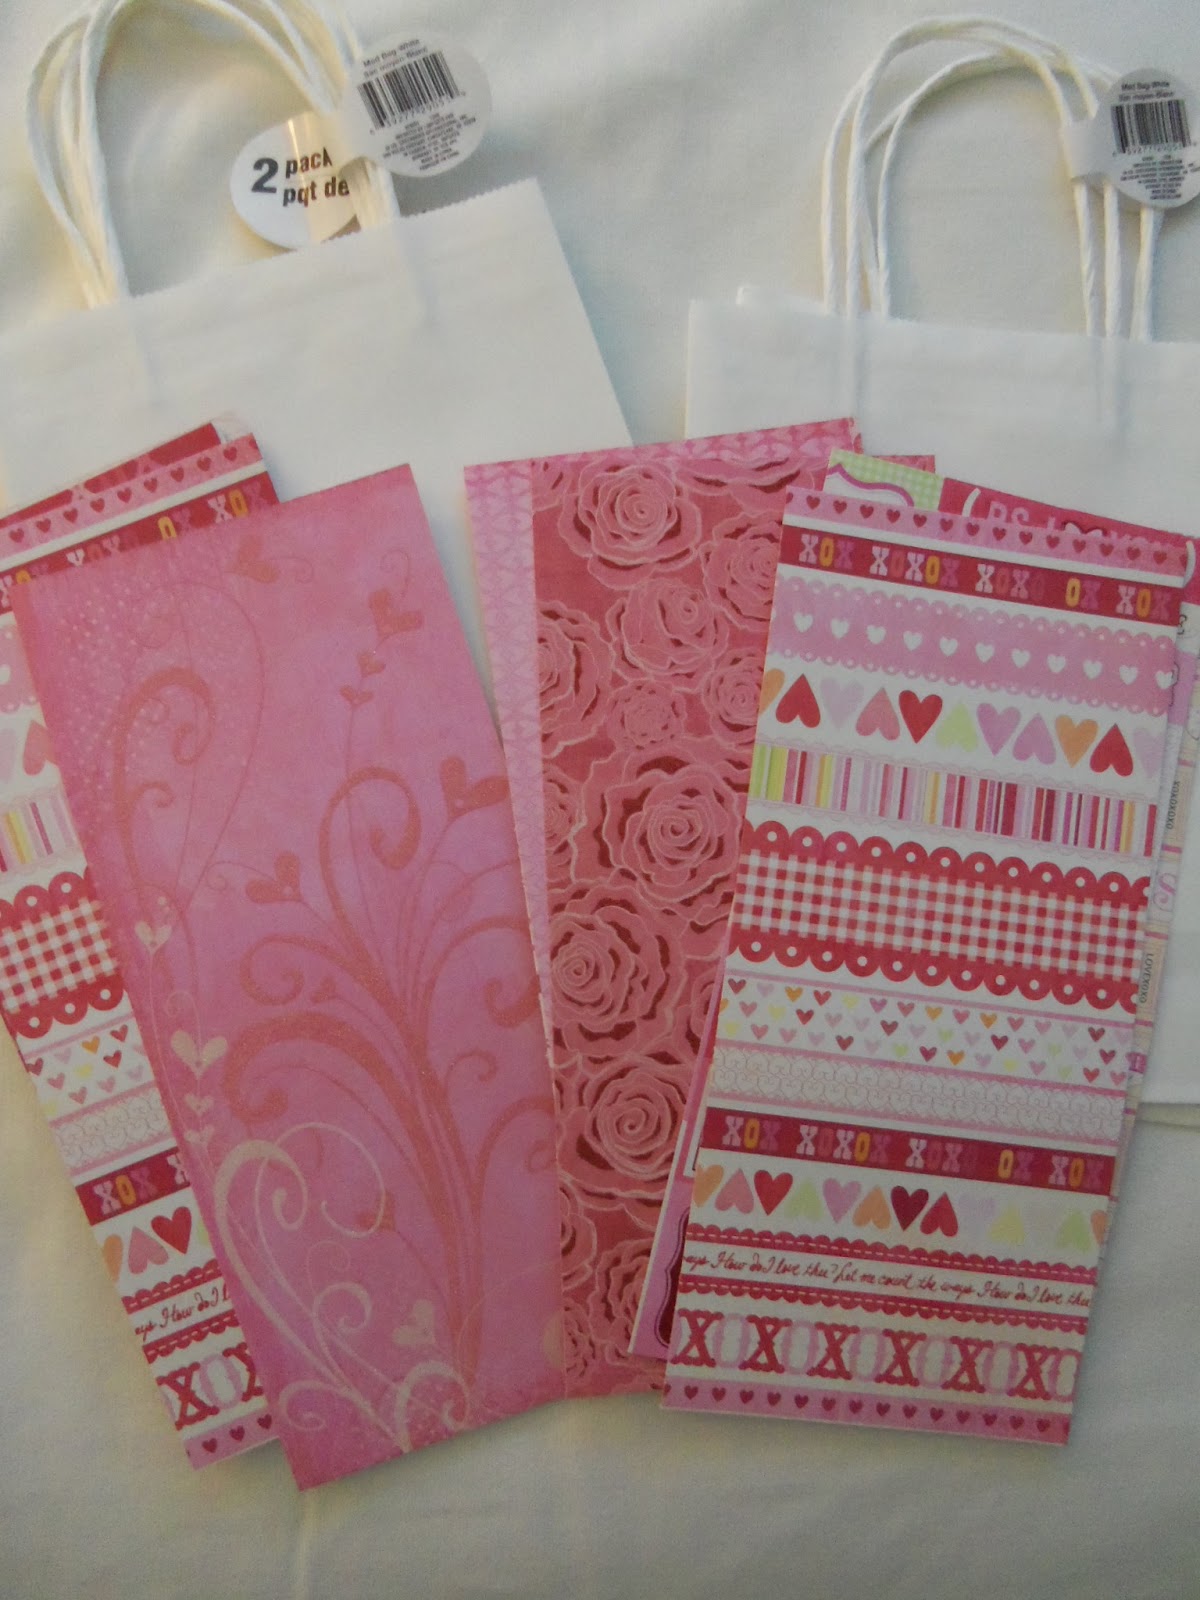
LOVEly gift bags

In an effort to be relevant and up to DATE...seeing as I haven't posted anything crafty in a while - I thought I would share my SCRAPPY gift bags that are being used to house all the goodies for my kids for Valentine's Day...
 
If you scrapbook or card make then you probably have all these items at your home already or some variation.
 
Things you'll need:
 
White gift bags (2 for 1.00 at dollar tree)


scrapbook paper,

 
adhesive, chipboard letters, tags

 
I cut some free hand hearts out of the scrapbook paper and adhered them to the bags in an overlap pattern

 
I used papers from K & Co - so these papers and the tags were all part of the same coordinating kit and come double sided so use less paper that way. 

 
Those white chipboard letters didn't pop enough for me so I spray painted them with red paint then just added them to the front of the bag and used some fun bakers twine for the tag to hang of the side.
I think the "GIFT bag" came out pretty darn cool...can't wait to fill it and give it!
 
 
I'll let you know what their reaction is....
 
Happy Valentine's Day
 
xo
tina
 
I am linking this project up to the following parties:


Tuesday, February 5, 2013

Vintage VALENTINE Banner

I am a hoarder collector of vintage paper and ephemera - the cuter the more sacred. I mean I love it so much I HATE to use it - which I think is the definition of a hoarder...keep adding without getting rid of...sigh...
 
 
I decided this year I would start using IT or get rid of IT. Just because I save it and have intentions of using something doesn't mean it'll happen. Intentions don't work unless I put them into action.
 
So in an effort to try and USE up some fun vintage goods I decided to make a fun valentine banner.
 
 
Isn't she cute? I used some chipboard triangles I had the hubs cut out then covered in some fun scrapbook papers.

 
added some vintage laces & ribbon

 
used some vintage images and some wall paper 

 
fun cards and stickers

 
and what I created was a cool vintage inspired kitschy Valentine pennant banner.
Note to self: it's ok to use up your stash
 
Well now I think I have convinced myself to get crafting using some of my favorite and prized pieces...it's time to make a mess- a crafty mess
 
 
I am linking this up to the following weekly parties:
 
 
XO
HAPPY CRAFTING


Monday, February 4, 2013

needle & thread

I consider myself a VERY crafty person. But like every good super crafty hero I do have a nemesis and that is: needle & thread crafting. You know sewing, pattern reading, crochet, knitting and embroidery. I try and for the most part I can make "something" but it doesn't resemble the piece I was TRYING to make. I can sew straight lines on a sewing machine but my goal is to make a top or t-shirt for myself. But for now I will stick with my pillows and aprons...another thing on my to do list is to make a SAMPLER - which consists of fun embroidered art patches...but in the mean time here are some of the things I have been playing with
 
 
I know this is WAY TO SIMPLE but yet it is still not perfect.

 
I even made an ANTI-VALENTINE heart - would you dare wear that out in public? I don't think I could...besides for me LOVE absolutely doesn't suck - I love being in LOVE!!!


Since it is so easy I thought I would share the tutorial for it of
 which is super self-explanatory...
 
cut out 2 heart shapes out of felt
on the top heart "embroider" with needle & thread a letter or a saying and just do the basic back stitch
 (see how on you tube)
when you are done with the top -  blanket stitch the edges - leaving a small opening to stuff with poly-fil. then close up
add a pin back or barrette clip to put on and wear.
 
super simple and these would make a fun gift to give to your pals --- just attach them to a fun embellished tag and you got a cool handmade gift.
 
So many fun blogs sharing lots of cool Valentines Day crafts: sharing my hearts with the following parties:
 
 
have "LOVE-LY" week
 
xo, tina