Showing posts with label halloween decor. Show all posts

Friday, October 12, 2018

New Halloween to share

Hey ya’ll just wanted to pop In and share these super fun Halloween goodies I’ll be taking to my show in 2 weeks 


Can you handle it? The best part is they easily make a cute vignette for any room in your house 🎃


Stay tuned for more previews 

xo 

Wednesday, September 24, 2014

My FALL Mantel


This is my favorite time of year and yesterday I was busy crafting up some fun FALL projects but I also took out my fall decorations and got to changing up my mantel I took a picture of what a thought was my finished mantel and I thought it needed a bit more tweeking - tell me what you think? 

 
This was my first attempt. But I think it was the family photos that was keeping it from looking finished.


So I took the family photos down and added some dollar store holographic  pics and to hide the largeness of the mirror I made a wreath to go in the center of the mirror.


I also added a free printable that I found online on the left and found another apothecary jar with white pumpkins in it and some dollar store black roses  to finish the mantel off. 


And wah-lah - lots better and a bit more complete. Now is the time to get to the dollar store - they have so many cool Halloween & fall decorations and for a dollar - you can't beat it! I'll be sharing the wreath change out tomorrow...
 
Happy Fall crafting ya'll.
 
Ill be linking this up to the parties above.
xo


Thursday, October 31, 2013

Happy Halloween

Here's wishing you all a wonderful Halloween - whether dressing up or handing out candy - hope you have a fun & safe night...

 
Wanted to share a fun mixed media WITCH I created using different bits & parts and a wonderful old doll head.

 
vintage alphabet blocks

 A metal lamp shade base (I think?) for the body and a candle saver for the collar and vintage hands holding one of my hand dyed trees in purple.

 
all in all a fun & pieced together Halloween decoration.
 
I am linking this witch up to the weekly parties in my link at the top of the page.
 
Have a fun night.
xo

Monday, September 9, 2013

NEW Burlap Banners

I am so ready for the FALL. I love everything about the AUTUMN season. The cool weather, the darker nights, the fireplace ablaze and the jackets and blankets that get used more. I long for the start of FALL. However, if you live here in SoCal, you know that we get hot - hot and I mean 90' hot days up until October 31st. Sure we get some cool days but for the most part its still summer throughout September and October. That what Southern California is known for, right??? ughhhh

Anyway, I am slowly getting out my fall decorations and figured I better make some new banners. I wasn't feeling last years so I went thru my stash of fabrics and found some left over pieces of burlap and well since burlap is AWESOME - I thought I would come up with an easy banner to share with you.

 
I cut 5 rectangles out of the burlap and then cut a triangle out of each.

 
then I grabbed some large foam stamps ( I find that foam stamps are the easiest to use)
used some ink or paint will do...and stamped out my saying

 
Here is another fun one made using the same technique - and again all you need is scraps of burlap.

 
Cute right - and you could make them up for friends and family and best part is that they are QUICK>>>
 
I am linking this up to the following parties:
 
CRAFT-O-MANIAC
MARKET YOURSELF MONDAY
JUST SOMETHING I WHIPPED UP
MAKE IT PRETTY MONDAY
MADE WITH LOVE MONDAY
MONDAY FUN DAY LINK UP
GIVE ME THE GOODS MONDAY
THINK PINK SUNDAYS
NIFTY THRIFTY SUNDAYS
 
please see the links up top
 
Happy FALL Crafting
xo

Tuesday, September 3, 2013

Painted Pillows

Oh wow - here in SoCal it has been super hot & very sweaty...HUMID - like AFRICA humid. Almost unbearable - I am afraid to open our SCE bill I am sure that it will be SKY HIGH since our air conditioner has been running on HIGH for the last 2 weeks. With that said we just started a new month HELLO SEPTEMBER - I am anxious for the FALL & WINTER months - I have been feverishly working on my holiday items for my upcoming shows. I have been thinking HALLOWEEN for a couple of months now

I wanted to share my newest line of pillows....I make pillows every year and like to change things up so I can give my customers something new to look at.

So Here is what I came up with:


I used some speckled fabric - similar to MUSLIN but a bit thicker.
 
 
I picked a font I liked and printed out the letter then cut them out with a bit of a border
 
(this is a different project I will share later this week)
 
traced them on the fabric in black sharpie or black marker then took my time and painted them in. 
Its quite easy and quick. Promise!
then just sewed them up. I wanted long and skinny pillows - maybe to be used as accents on a couch!
 
 
Last year I made my pillows out of burlap and stamped Halloween phrases on them - that took some time and was hard to get a good print out of. I like these pillows ALOT!! I made another one that says TRICK OR TREAT - same size and same technique. Planning on making a few more...
 
I will blog about the pumpkins soon...
 
Here's wishing you a cool afternoon.
I will be linking these pillows up to the following parties - please see the tab at the top of the page.
 
market yourself Monday
craft-o-maniac
Monday funday
 
make it pretty Monday
 
Monday funday
give me the goods Mondays
show me what you got tuesday
sew cute tuesday
one project at a time
too cute tuesday
tuedays the scoop
 
xo-Tina


Wednesday, October 10, 2012

EYE see you

Boy - its wednesday already...geesh...life is just speeding by.
 
I wanted to share some of the things I have been making around these here parts....I saw this in a magazine or online magazine and for the life of me I couldn't find the original source so I can link up - I thought maybe Martha Stewart or Better Homes & gardens but no such luck in the search mode on with site....
 
Anyway, here she is - yes my daughter but also the super cool magnified EYE glass....
 
 
First of all, these magnifying glasses are at the dollar store (yeah coolness)
so I bought one cleaned up the glass

 
Looked on google images for some cool eye photos and printed them out
the larger the better so they fit nicely into the center of the glass

 
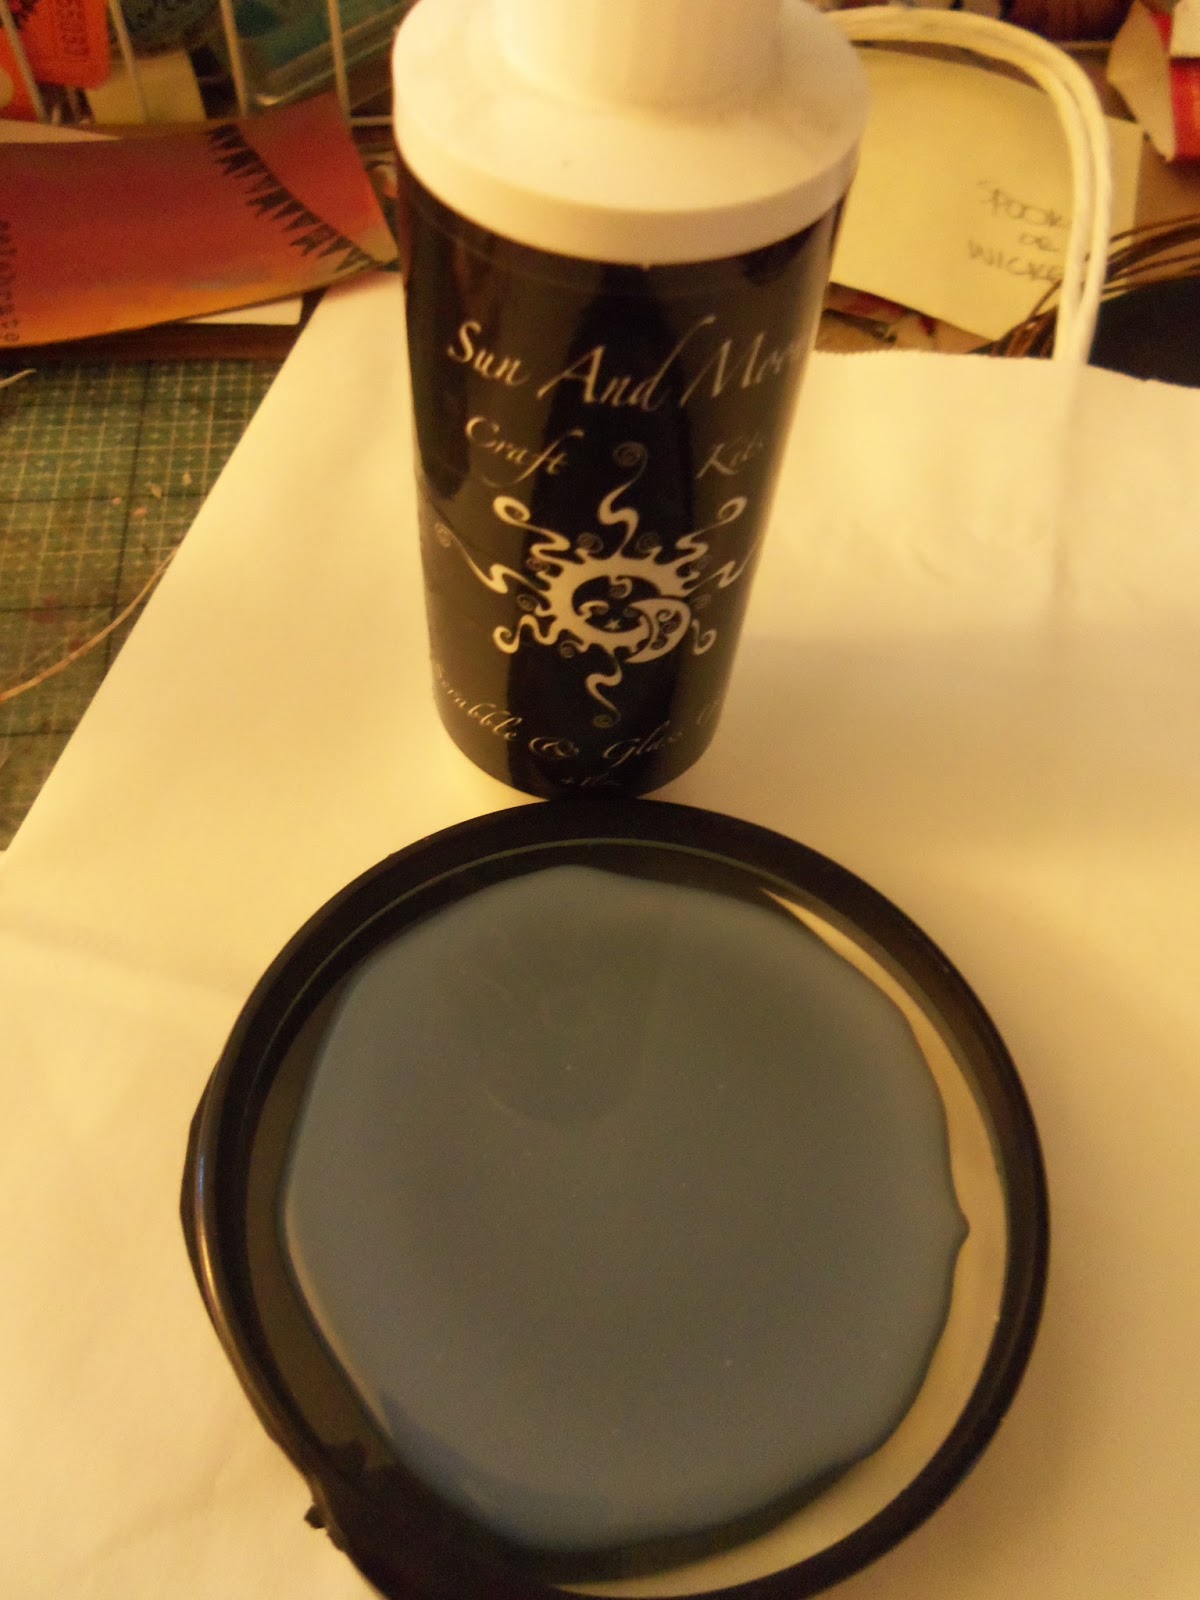
I used this amazing glue (super stain-y, and sticky on the fingers)
but dries super clear and tacks down most anything...
I added a big glump of glue to the center of the glass
(FYI - after trying it this way I would definitely add less in the center because I had a ton of glue oozing out the edges of the images and because of that I may or may not have used my pants to wipe away the excess - not a good idea)

 
then I added my cut out eye image and smooshed it in the glass and squeezed out the air bubbles. (FYI - make sure your eye placement is straight and not off center) but once you are done...you have this really cool
creepy Halloween gag piece to lay around  - why not leave it in the bathroom by the toilet :)

 
moral of this post is: do as I say NOT as I do!!!
 
and have fun with this...
hope your week is productive and filled with crafty fun.
 
I am linking this up to the following parties this week:
 
what I whipped up wednesdays
overflowing with creativity
the creative spark
we did it wednesdays
whatever goes wednesday
xo

Tuesday, October 2, 2012

Burlap LOVE

I know I am not the only one with BURLAP love - something rustic about it
yet it can be easily kicked up to shabby or Parisian or holiday-ish.
{Did you know that Burlap came in a bunch of great colors???}
I want to share with you some fun pillows I made using this awesome fabric.


I cut out rectangle shapes of the burlap, sewed up the four sides leaving
an opening to stuff later. Then I got some fun FOAM letter stamps and I used
speed ball ink - but you could use acrylic paint as well.
Then I just went to town. I thought up some fun sayings and just stamped them
out and used some making memories Halloween stamps (images)
I made some larger pillows too and am just finishing them and will
share them later this week.


These are fun to add to your Halloween decorating. They would be great on your
outdoor patio - because they are burlap they can handle the elements.

Just so it's clear. These aren't to be washed unless you make a pillow case for the stuffing.
Because burlap is so cheap - I don't worry much about them getting dirty or
torn. They are cheap enough to toss away.

I will be sharing more fun Halloween projects that you can make and decorate with
between now and October 23...

Happy crafting....
I will be linking this up to the following parties:


*Tina

Friday, September 21, 2012

Pocket full Pumpkins

I love my fat, orange & white pumpkins...all sizes all colors & even the funky bumpy ones.
I wish I had space to start my own pumpkin patch - really - that is a dream of mine
to have a farm that I can grow a year around crop...oh maybe one day.

In the mean time I have been busily making my own --- with fabric, needle & thread.

I decided to use a bunch of fabric scraps & material that I already had on hand.
Like this really fun corduroy in tan...

I also tried one using some vintage chenille bedspread in white.


These are made simply by cutting out a circle, then using a needle and thread to
run a straight stitch along the top of the circle pulling it closed adding
some beans or rice to the bottom for some stability then stuff it...


I wanted my pumpkins to have an authentic look to them so I added broken sticks
and some moss to the top and of course I added my own label...cute right and clever wouldn't you say.

Anyway, I am in the midst of creating some more fun pumpkins....happy crafting and thanks for visiting
xo
I am linking this up to the following weekend parties:

Tuesday, September 18, 2012

Banner-riffic

Boy do I have HALLOWEEN on the brain! I absolutely LOVE that holiday.
the colors, the excitement, the decorating, the candy {wink}
So I decided to make a new and different {for me}banner this year.
and here she is

 
I used 3 sheets of 12 x 12 papers - cut them in 1/2 {6in} then again in half {3 in} 
 
 
did the good ol' accordion fold on all the pieces

 
now here is the tricky part...not really but...here is a heads up
 
when attaching the ends of the folded strips REMEMBER to attach them
1 printed side to one white side (in other words do not attach same color side to same color side) if you remember this then the piece will flatten
nicely when finishing the piece off - otherwise you get this funky kink in the piece.

 
I used my extra jumbo punch and cut out some circles to add to the top of each rosette - but you could also use a circle cutter or a plate and some scissors.

 
I had these cool chipboard letter from MS which were white and used some
black gloss spray paint and they turned our magical and so shiny!
 
I used some hemp twine, some fun fabric scraps and tulle to add some decoration and fluff to the banner. 


I am supah-dupah happy with this banner. I just pulled out my Halloween decorations and can't wait to get to decorating - only 1 more week to go.

I am linking this up to the following parties:

uncommonly yours
market yourself mondays
craft-o-maniac
made by you monday
one project at a time
tip me tuesday
too cute tuesdays

happy crafting ---xo


Friday, August 24, 2012

seeing orange

I have orange, brown - any fall colors - swirling in my mind. I am so OVER
this summer - I am anxiously awaiting waking up to cold mornings,
drinking hot coffee, sitting by the fire, wearing socks...basically
I long to get cozy!!! I keep telling myself by crafting with FALL in mind
I may be channelling my energy to the weather GODS and bring upon
 FALL/AUTUMN sooner
{it could work, right?}

anyway, I have pumpkins all over the house right now and had a light bulb moment!!!

why not share my ideas with you all and if I can figure this LINKY thing
maybe we can have a party and share ideas with lots of folks...

so here's what I am callin' it...


here is a photographic edit that I made to make my first set of PUMPKINS
look rustic and aged and I gotta tell you that I am lovin' this look however, in real life they
don't currently look like that but shoot---I may be able to make them a bit more
tattered & rustic --- good jumping off point...


so here is what MY first set of PUMPKINS looked like -
this is just a random self drawn pattern...I like the odd shape,
looks more rustic {ok note to self stop saying RUSTIC}

I sewed the pumpkin up with the seam on the outside, then I added a
found stick for the stem but you could use anything you wanted for the stem.
then I added some jute around the neck to cover up my thread and included
a hand cut burlap leaf---just to give it a fresh picked look :


then I just painted the PUMPKIN up....using orange first and then
white to add some shading...
here they are in TECHNICOLOR


and of course to make it extra special I added a fun tag to make it MY own...


I gotta tell you I love it...

Well I hope you like it and hope you back link me so I can come by and see your cool PUMPKIN 

I am linking this up to the following parties:


happy crafting
xo

Friday, August 17, 2012

the one about a black cat

boy it sure has been hot here - like melting the witch HOT!

I have had trouble focusing on crafting or blogging about crafting...its all I can do to be still and get
myself cooled down. I did play with some fun things I got at the 1.00 store. I have seen on various
blogs people making their own apothecary jars  and well my store didn't have the right
jars to make those but I found these instead and tried to figure something out...
I used some of my trusty spray paint -and I gotta tell you I wasn't sure that the paint 
would adhere to the glass but it sure did and it was such a nice glossy finish... I painted
the bottom candle stick in black and the votive holder I used

some of this can of frosting (that I have had for over a year now) on the top holder
my idea was to spray paint a design onto the jar but it was way to hot to stand outside and
figure that out - so after a quick spray I decided to use these...


these negative stencils I created using Tim Holtz dies....I used regular black paint
and the stencil to pounce paint on the frosted votive holder. See how light it was?
I waited till it dried then went over it with a paint brush to darken the image up a bit...


see how much darker it got....Then I added some fun trim...to the top - ball fringe
and just added it with a glue gun...


and of course it needed some more color so I added an orange tulle bow to the front...


super cute right? Looking at it now it almost looks like a GOBLET - like a
Halloween drinking cup right??? Now before you stop and ask yourself what the heck
would I do with this? Well I could see this holding a candle (duh) or why not fill it with some treats
make a bunch and line them down the middle of your Halloween table...Genius right?


oh and that HUGE pumpkin there is NOT only the coolest thing ever.

Well try it out and have fun with it. Hope your day and weekend is nice and cool where you are...
we'll be staying nice and cool in the air conditioned house here...spending time
crafting...so I'll have more to share late in the week.

Have a wonderful weekend.
xo

I am sharing this at the following parties:


Wednesday, August 8, 2012

Is it to EARLY?

personally I think its NeveR too early for HALLOWEEN.
But of course, as a crafter and yearly Craft Boutique participant - July is usually when you
start seeing bits of Halloween creeping up in my home...
either halloween fabric, sewn pumpkins laying by my fireplace, painted creepy houses in the kitchen-
thats Halloween spilled all over.
Beyond the obvious halloween decorations, I also like to make simple things as well - that don't SCREAM Halloween but are still cute and that are functional.
take these cute little gift buckets

cute right and it was really a quick and easy to make and doesn't take many supplies
to get them done.
all you need are some PEET pots (for planting) some burlap or ribbon and some


center rosettes (handmade or bought)


take the burlap and cut it to fit the peet pots and hot glue them to each other
then add your rosette - you could totally make these fancier if you chose too. But I think
less is more.


see all of them together - looks pretty great and if you are thinking NOW what?
well why not fill them with some candy corn and use them as place settings or perhaps
fill them with some Halloween treats and keep by the door for giving to unexpected guests...
see they are really functional and cute!  best part is they are handmade - and you can't beat that...


hope you try this idea out --- have a crafty week
I am linking this up to the following parties:
whatever you want wednesdays

xo